-
There are several ways to get to the Task Details screen:
My Space - My Assignments - My Tasks - Click on the name of a Task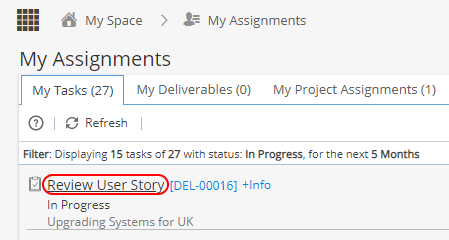 My Space - My Timesheets - Timesheets List - Select a Task and click the View button
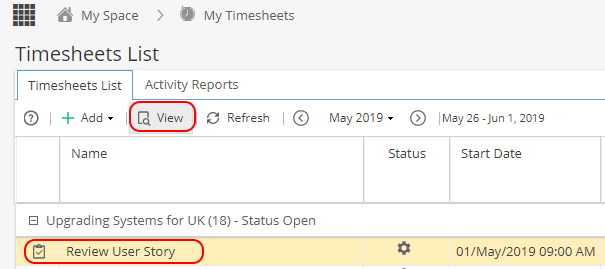
Project - Schedules - Gantt - right click on Task, select Go to Task Details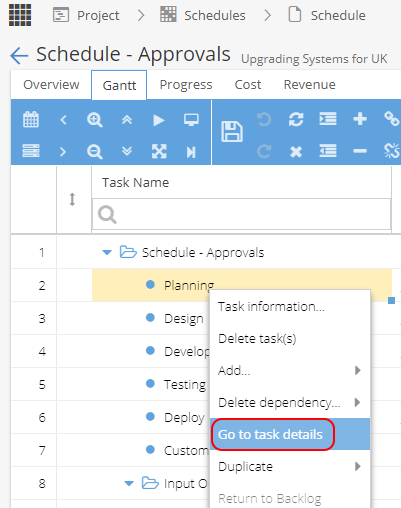
Project - Tasks - Tasks List - Select a Task and click the View button.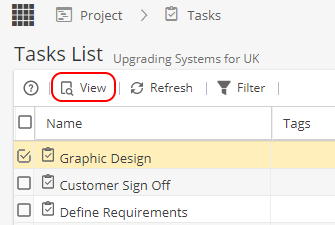
Example of Task Details Overview: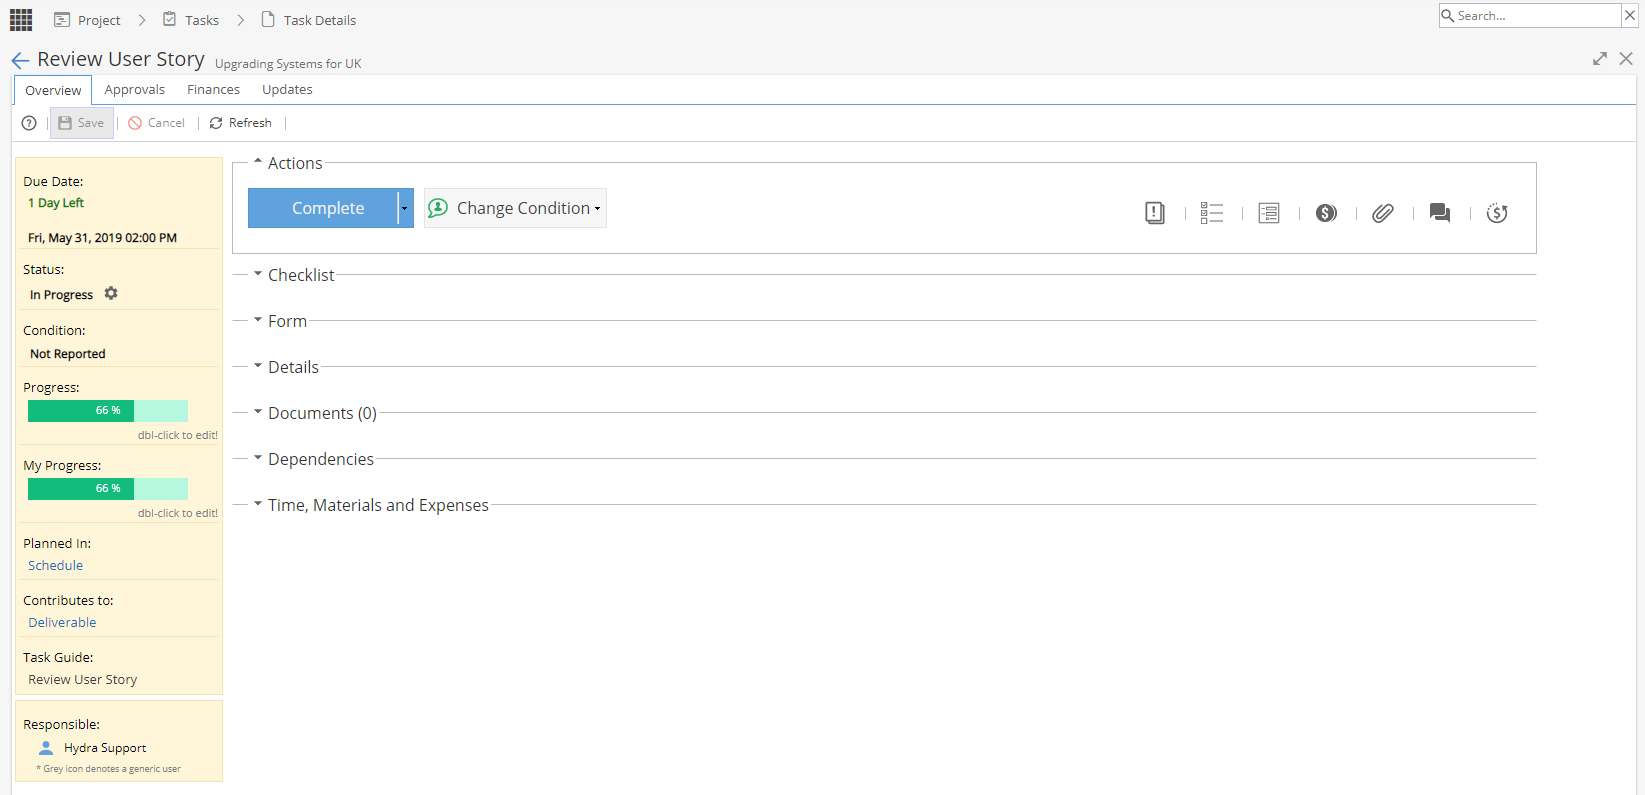
Click below to expand a section and read more:
-
If the Due Date does not show correctly you need to edit the Task in the Gantt.
This panel shows:
Due Date / Days Left (or number of days overdue if Task is running late)
If the Due Date does not show correctly you need to edit the Task in the Gantt.
Remember, the way you edit a Task depends on the Scheduling Mode.
If a Task is "effort driven", the end date is changed by editing the start date & effort. If you were to increase the effort just to make the end date show later, this will impact costs etc.Status In Backlog, Planned, In Progress, Waiting for Approval or Closed Condition Indicator of how people think the Task is going Progress / Effort Remaining If using timesheets remember updating the % this will update the time logs My Progress *Only visible if the Task is assigned to you Planned In Schedule Name Contributes To *Only visible if Task is linked to a Deliverable Guide *Only visible if guide configured Responsible Names of User(s) assigned to Task 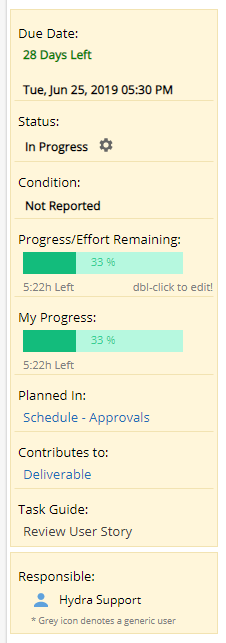
Remember, the way you edit a Task depends on the Scheduling Mode.
If a Task is "effort driven", the end date is changed by editing the start date & effort. -
The Actions area allows you to Start / Complete / Cancel / Re-open / Get Approval for a Task
*The Start option will only be available if you have a Resource assigned to the Task


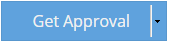
If "Get Approval" is selected, the approver will be notified via email.
The approver is configured via the Approvals tab.
Change Condition - Select a condition from the drop down: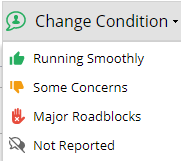
Add a comment and click OK: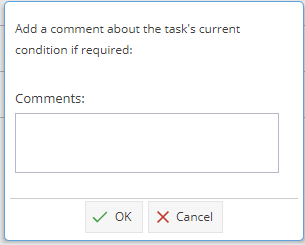
This will update the Yellow Information Panel, the Condition column on the Tasks List view and on the Updates Panel.
Icons on the right hand side:
Review the Guide in a pop up window 
View the Time Logs
*Only applicable if Project has Enable Time Logs as Yes
Expands the Checklist section 
Expands the Form section
*Only applicable if using Task Custom Fields
Expands the Time, Materials and Expenses section 
Expands / Collapses the Documents section 
Takes you to the Updates tab 
Takes you to the Finances tab -
Click on the icon to view the Task Guide.
A pop up window will appear with the following information:Instructions If applicable, this section will show details of the steps required to complete the Task.
From Knowledge > Blueprints > Assets > Tasks > Instructions tab.Checklist If applicable, this section will show a summary of any checklist items, showing the Name, Description and an asterix to mark if the checklist item is mandatory.
From Knowledge > Blueprints > Assets > Tasks > Check List tab (or if a Task has been created manually and a Checklist has been added).Form If applicable, this section will show details of Custom Fields for your Company.
The Name, Description and Type (e.g. Integer) will be shown in a table.
From Knowledge > Blueprints > Assets > Tasks > Fields tab.Configuration
DetailsIf applicable, this section will show details of expected Profile to complete the Task, Inputs, Outputs, Materials and Skills.
From Knowledge > Blueprints > Assets > Tasks > Configure tab.Approvals If applicable, this section will show the profile required to approve the task will be shown, along with the deadline and what happens if the deadline is reached.
From Knowledge > Blueprints > Assets > Tasks > Approvals tab.Links If applicable, this section will show a link to view a document / URL link.
From Knowledge > Blueprints > Assets > Tasks > Instructions tab.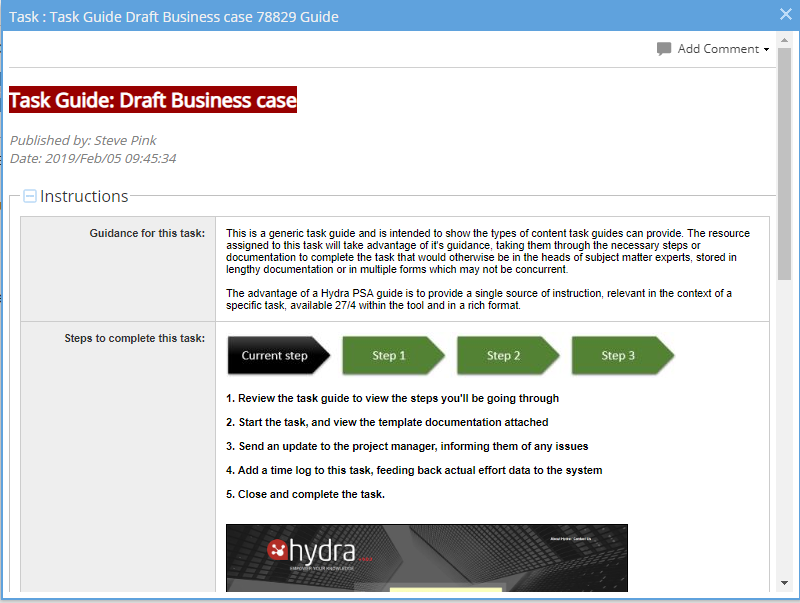
On the top right hand side you have the option to add a Comment. -
Time Logs - This option is only available if the Project > Admin > Preferences > Tracking Type has Enable Log Times set to Yes.
If the Project is not using Timesheets this icon will not be visible.
Time is typically added via the Timesheet but this will show you a pop up window of dates and times logged, with the total time logged and time remaining.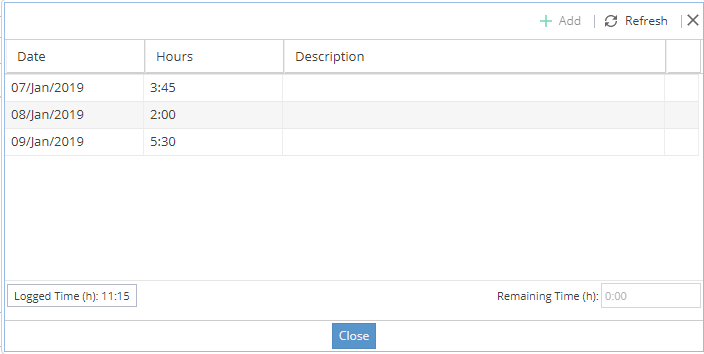
Depending on the set up for your company you may have an additional column to pick a time type from a drop down list:
If timesheets are approved you may also see a green padlock:
Logged Time is also shown in the bottom section called "Time, Materials and Expenses".
Click on the icon from Actions. -
The Checklist area, when configured, allows you to view the Task Checklist, and check items when they have been carried out.
Checklists can be created in the Blueprint > Assets > Tasks on the Checklist tab.
If a Task was taken from a Blueprint you will have no option to add/modify the Checklist items.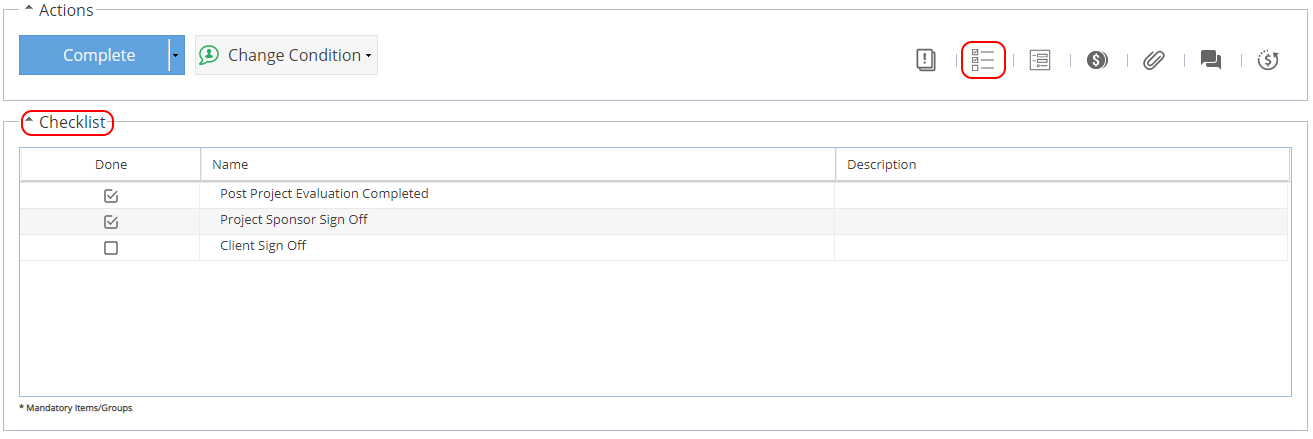
To update the checklist, tick the box for a completed item and then click the Save icon on the top left.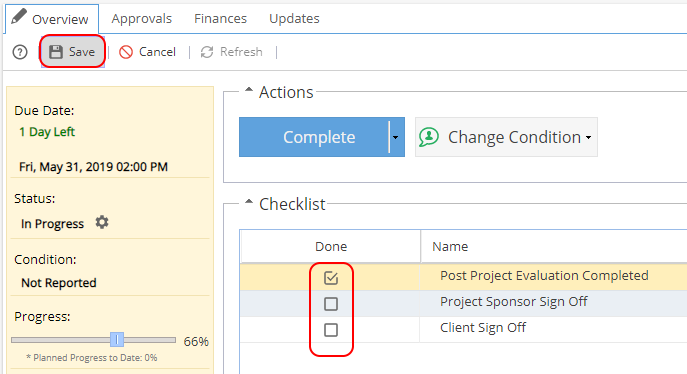
If the Task was created manually (not taken from a Blueprint), you will have the option to create / modify the Checklist items/groups; updating the name, description or if items are mandatory: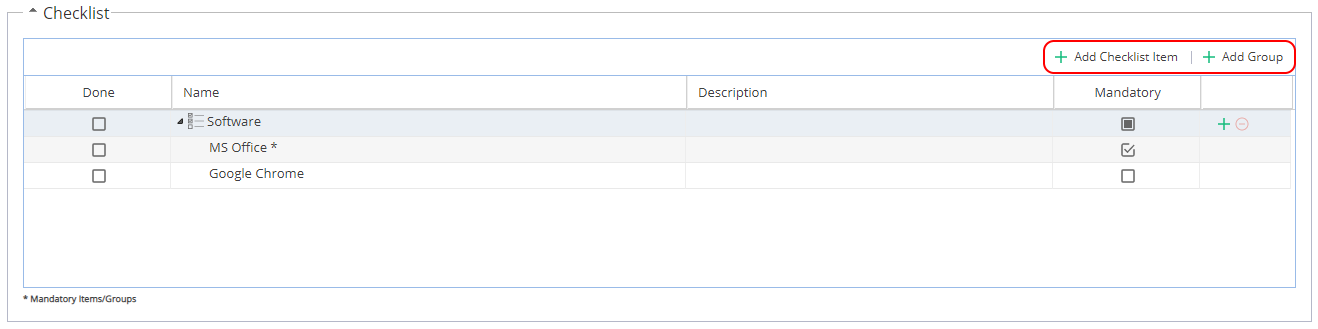
Remember any items marked with * are Mandatory.
If you try to complete a Task where mandatory items have not been completed you will see this message box: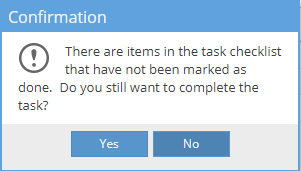
If you select Yes to continue without completing mandatory items you will be asked to add an explanation: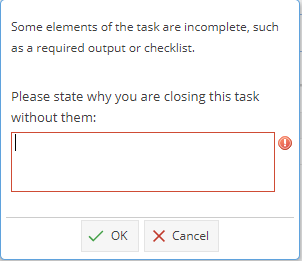
This allows your company to review the process for this Task without stopping the Project from progressing. -
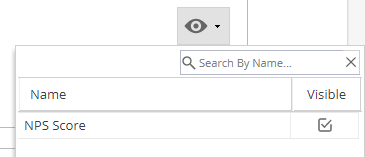
Custom Fields are a way to hold additional information specific to your Company.
Custom fields are configured under Blueprints > Assets > Tasks > Fields
Double click on a field to edit. Custom Fields may vary, they can be set as free text fields, traffic light system, dates, numeric or drop down lists.
The eye icon on the top right of the Form section allows you to show / hide custom fields:
-
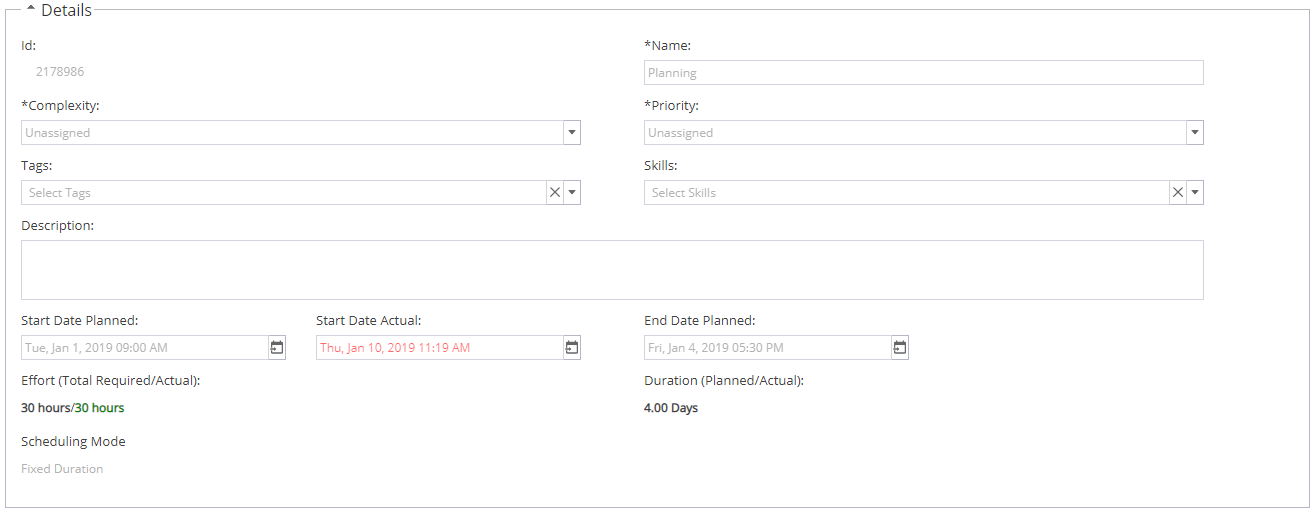
The Details area shows further information about the Task, only some fields can be modified from this view:
ID (Identifier created by Hydra) System Name Task Name - Complexity Unassigned / Easy / Medium / Difficult / Very Difficult - Priority Unassigned / Low / Medium / High - Tags Choose from Tags created via Project > Admin > Preferences > Tags Management - Skills Required skills for the task *if enabled - Description Additional information about the Task - Start Date Planned Taken from Schedule Updates made via Gantt Start Date Actual Shows date Task was marked as In Progress or you can set the Date manually. - End Date Planned Taken from Schedule Updates made via Gantt End Date Actual Shows date Task was marked as Complete or you can set the Date manually. - Effort (Total Required / Actual) Required Effort, Planned Duration and Scheduling Mode updated via Gantt - Task Information Duration (Planned / Actual) Scheduling Mode The Scheduling Mode for the task To update details double click on a Field, make the required changes and click the Save icon on the top left.
-
An Input relies on a Document (of the correct type) being uploaded to the predecessor task to assist you with completion of this Task.
For example, a customer could have a Task to upload a Purchase Order and then the next Task is to use the PO to create an invoice.
Note: The Input option is set within Knowledge > Blueprint > Assets > Tasks > Configure Tab
If an Input is not found, check the dependencies to make sure the predecessor task has been correctly completed, for example maybe a document has been added but the Document Type is not matching what is expected.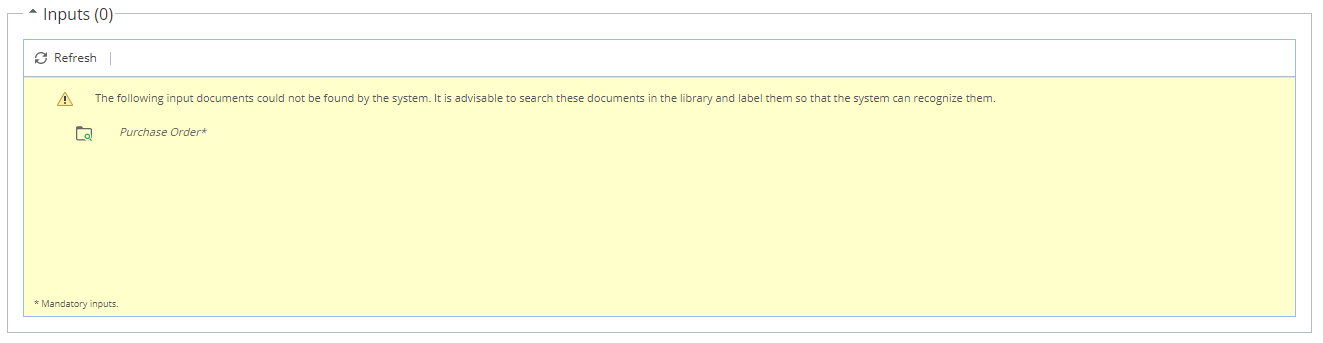
If an Input is found, it will be available to Download & review by clicking on the Document Name.
Clicking on the magnifying glass icon will take you to Documents > Library > Document - General Info screen.
Hover over the link icon to see the name of the predecessor task.
The last icon will show you the status of the task, e.g In Progress (Cog), Completed (Tick). -
The Documents area allows you to attach new documents to the Task, or view documents previously attached.
File
Select a File (Target Folder is optional)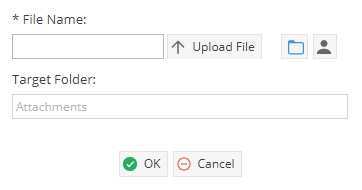
Click on the button to select the folder where the file will be saved.
If you want to share the file with selected users in particular, click on the button and select the users.
Double clicking on a File Document will download the file to your PC for edit / review.
Link Provide a Name & URL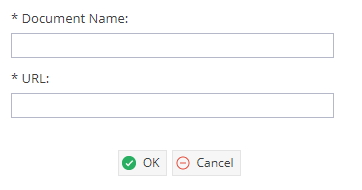
Double clicking on a Link Document will open a new tab in your browser, taking you
directly to the link.
Online
This option allows you to create a file within Hydra.
Start by providing a Name and click OK.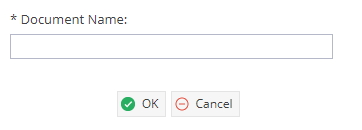
Double click on the Name.
From the Documents - Library - Document - Content tab
Double click in the white space to bring up the text editor and click Save.
Double clicking on the Online Document will open the online Document Editor as shown above.
Outputs
If the Task requires an Output, there will be a highlighted yellow section in the Documents
Area that shows which type of Output(s) is expected to be uploaded.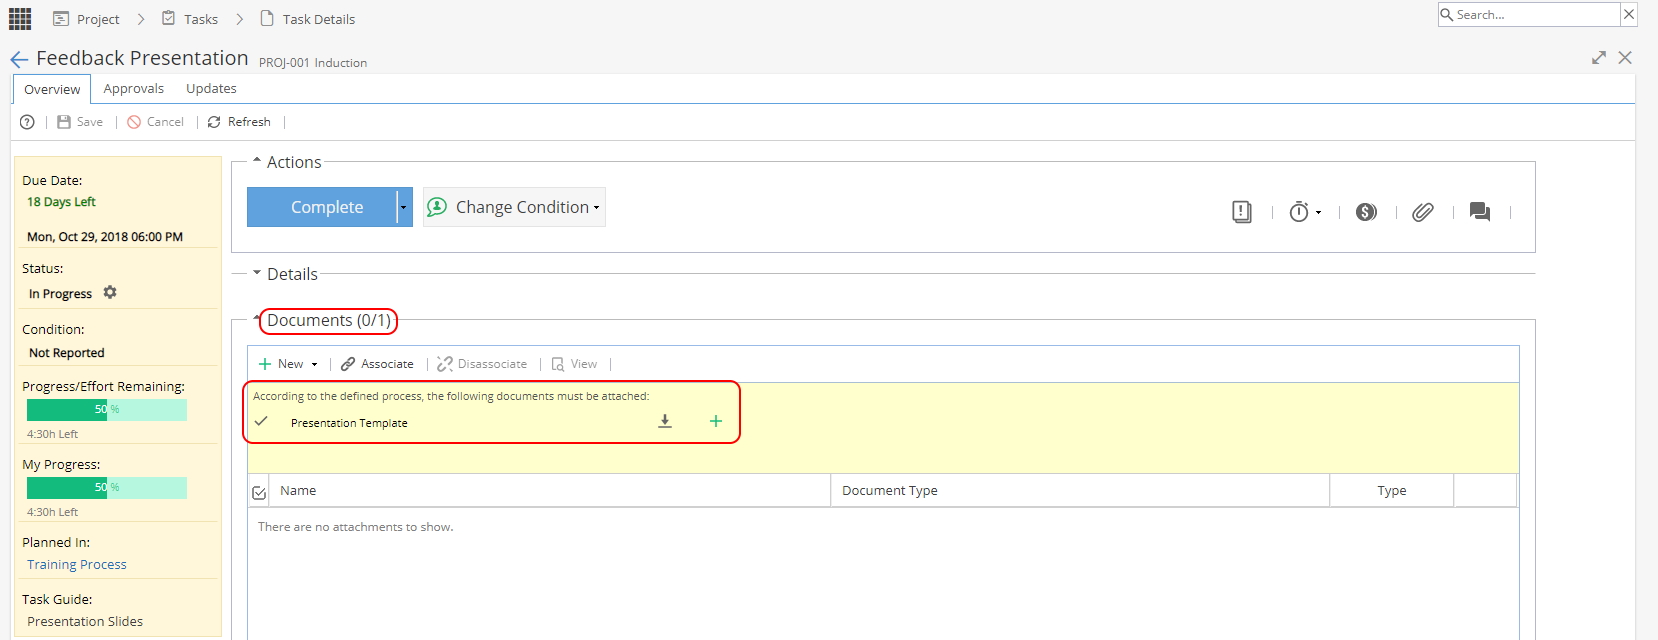 You can use the green + icon in the yellow section.
Adding a document from here will automatically set the 'Document Type' to match the required Output.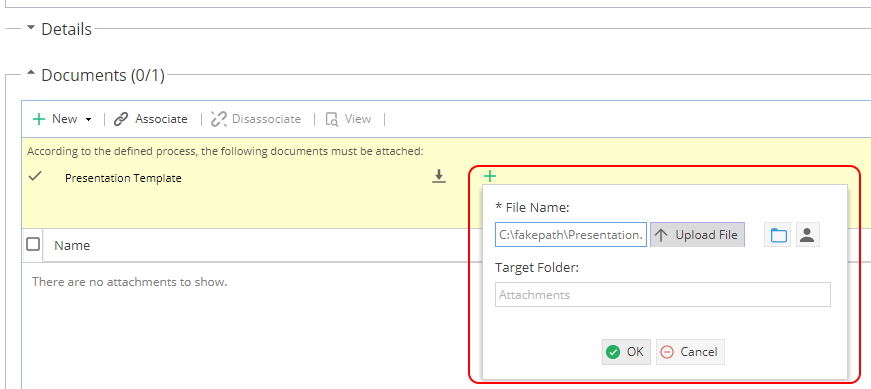
If you use the + New button to add a Document the 'Document Type' will not be defined.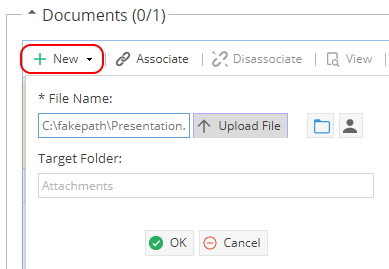
Double click where it says "Select a document type..." and choose from the list
When the 'Document Type' matches the defined Output the Documents otal will update on the top left to show this requirement has been met. Note: The drop down for available 'Document Types' is controlled by the list of Documents set in Knowledge > Blueprint > Assets > Documents.
If an Output is marked as mandatory and you try to complete the Task without the required Output you will be asked to confirm you want to complete the Task and add a comment to explain why the mandatory output was not required in this case. Note: The mandatory option is set within Knowledge > Blueprint > Assets > Tasks > Configure Tab > Rule
To Remove a Document from the Task, select the document and click Disassociate.
To Add a document that was previously uploaded click Associate and then select the document you wish to link to this Task. -
The Dependencies area lists Predecessors and Successors and provides the following information:
Task Name Name of the predecessor / successor Task Status In Backlog, Planned, In Progress, Waiting for Approval or Closed Due Date Current planned end date of the Task Health RAG style indicator:
Grey shows the task has not started
Green indicates the task is open and not late
Red shows the task is open and late
Blue shows the task is closedAlerts If you see a yellow warning triangle this means an Alert has been triggered.
*Alerts will be visible via Project > Project Home > Alerts List
**Alerts can be closed via PMO > Alerts > AlertsResponsible The resource assigned to the task Condition Indicator of how people think the Task is going Target Name of Deliverable the Task belongs to (if applicable) Schedule Schedule Name this Task belongs to 
-
The Time, Materials and Expenses area shows you the time and materials that have been logged against the Task. This includes the name of the user/material, a description where appropriate and the number of units.
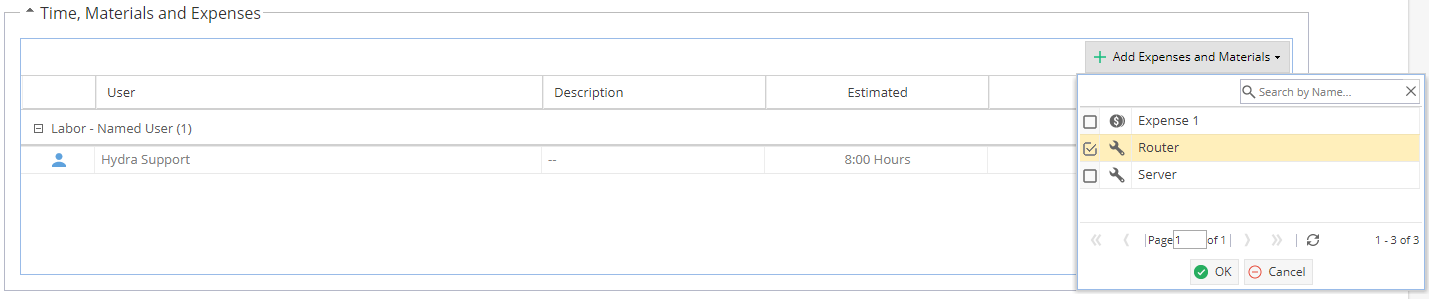
The drop down options for Expenses and Materials will be based on options created under Project > Finances > Resources Sheet