The Project > Admin > Preferences tab allows you to enable / configure settings specifically for one Project.
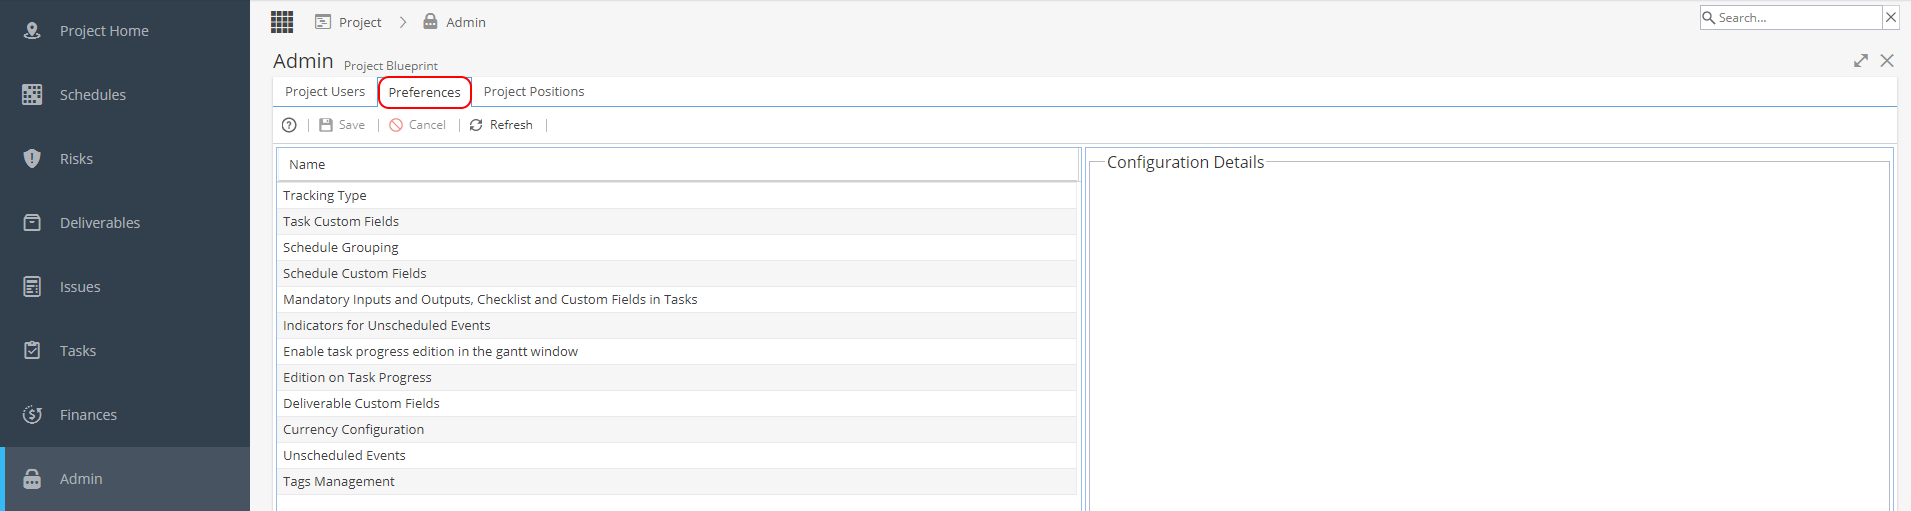
To configure an option click on the name of the preference and double click in the right hand panel to be able to edit.
Change the options as required and click Save to apply the changes.
List of options:
-
This option is originally set when first creating the Project via PMO > Project List > + New (under Preferences).
Time Logs are to allow Team Members of the Project to log time on a timesheet, this will give you data for the Timesheet Reports.
Tracking Mode is to show progress by percentage or time remaining, this will automatically switch to Time Remaining if Time Logs are set to Yes.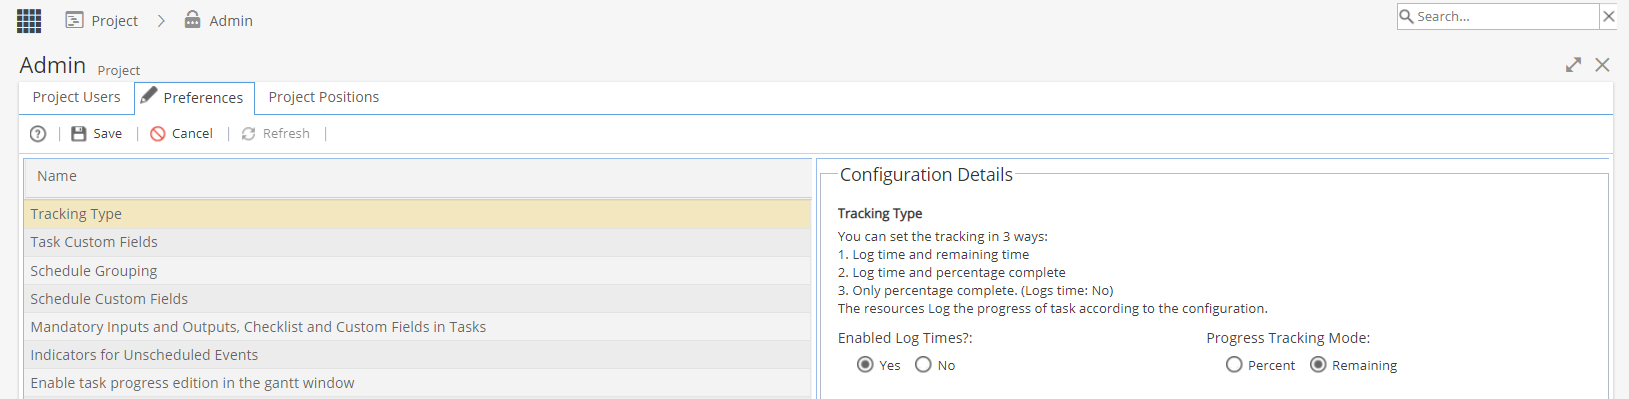
-
Blueprint Set Up to use Task Custom Fields:
1) To set up Task Custom Fields to apply to a Company Blueprint:
First go to Knowledge > Blueprints > Advanced Setup > Fields and create the custom field.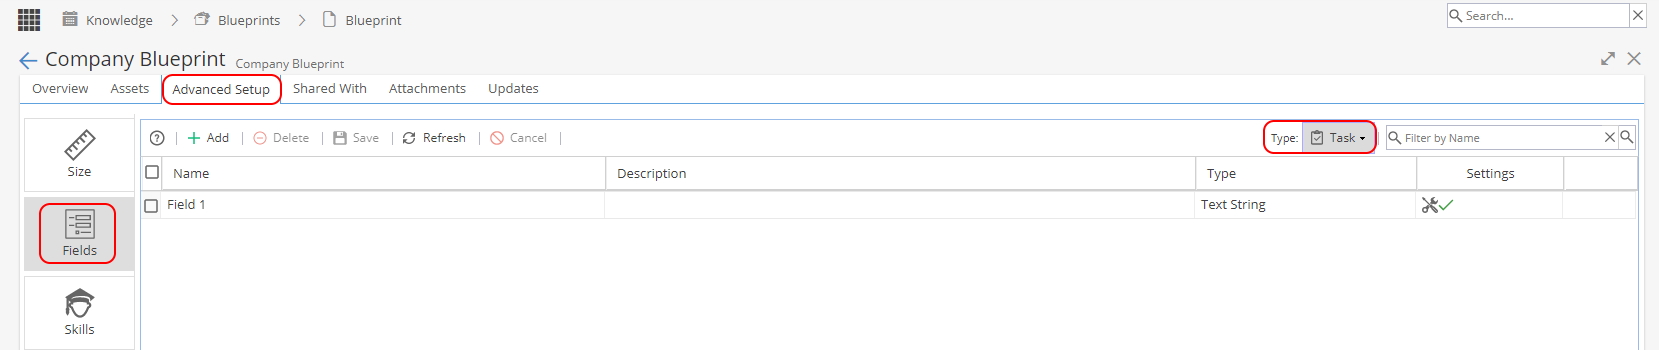
2) Go to Knowledge > Blueprints > Assets > Tasks and click on the Fields tab
Add the Custom Field(s) to any Tasks you would like to include additional information.
Select if the Custom Field is Mandatory or Visible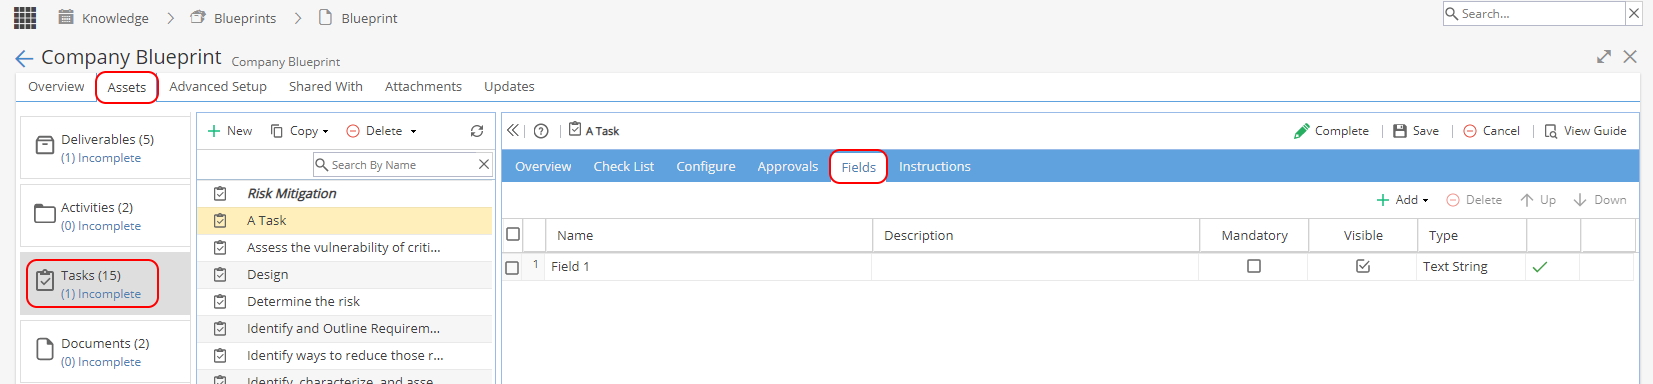
Changing Visibility of Task Custom Fields for a Project:
When a Task Custom Field has been configured, it will appear in this view:
The Name, Description and Type are view only, taken from the setup in Knowledge > Blueprints > Advanced Setup > Fields
The only change which can be made in this menu is the visible in list option.
The Visibility option can also be updated from the Project > Tasks > Task Details > Overview -
The company default option for Schedule Grouping is set via Admin > Configuration > Company Preferences > Schedule Grouping You would only change this setting from Project > Admin > Preferences if you wanted a single Project to be different from the company default:
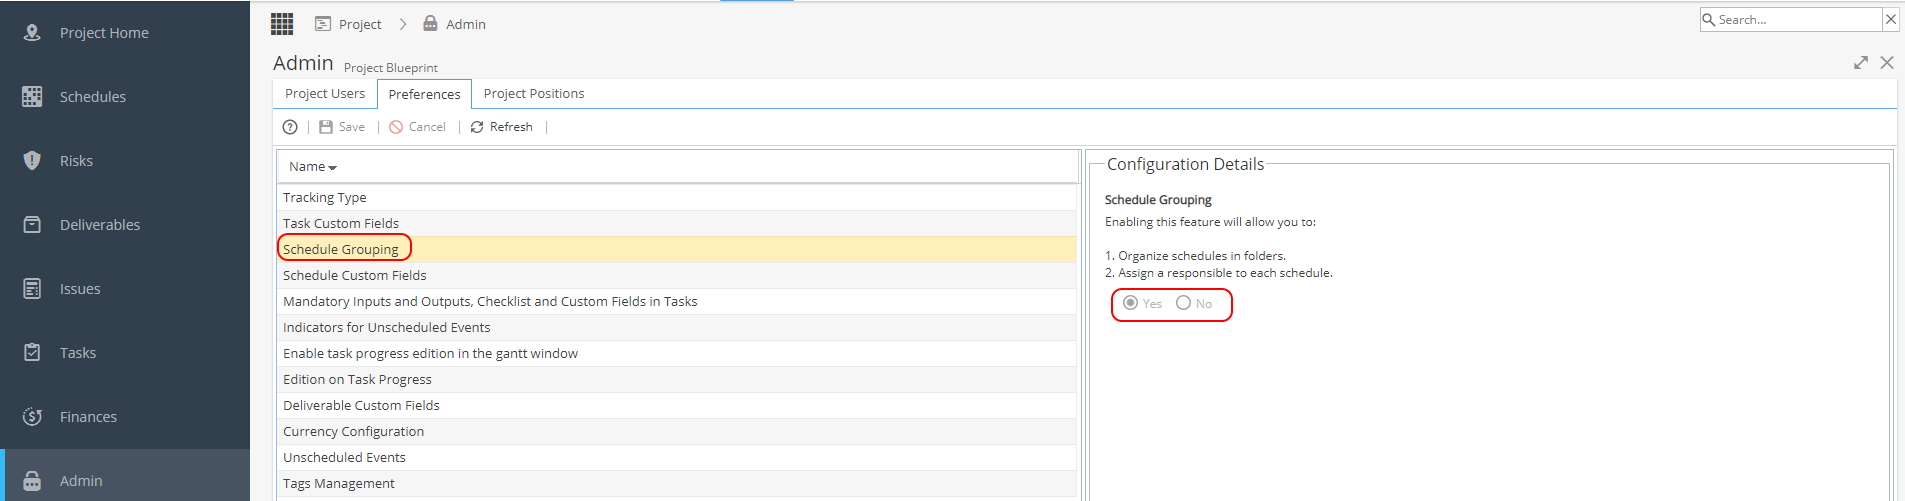
This option can only be set to Yes or No.
This affects 2 areas of the Schedules:
1) Organise schedules in folders
Project > Schedules > Schedules List
If Schedule Grouping is set to Yes extra options will be available on the + New button
This allows to add New Folders to organise Schedules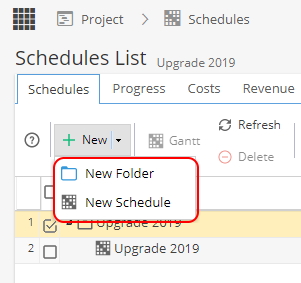
2) Assign a responsible to each schedule
Project > Schedules > Schedule > Overview
If Schedule Grouping is set to Yes an extra option will be available in the Details section to assign a user Responsible (If set to No, the Responsible option is not available)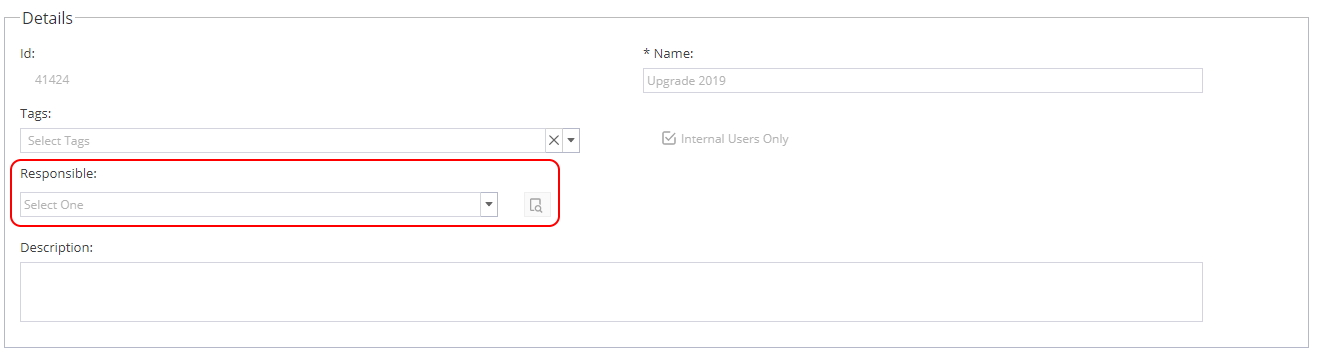
-
This list will show you any Schedule Custom Fields:
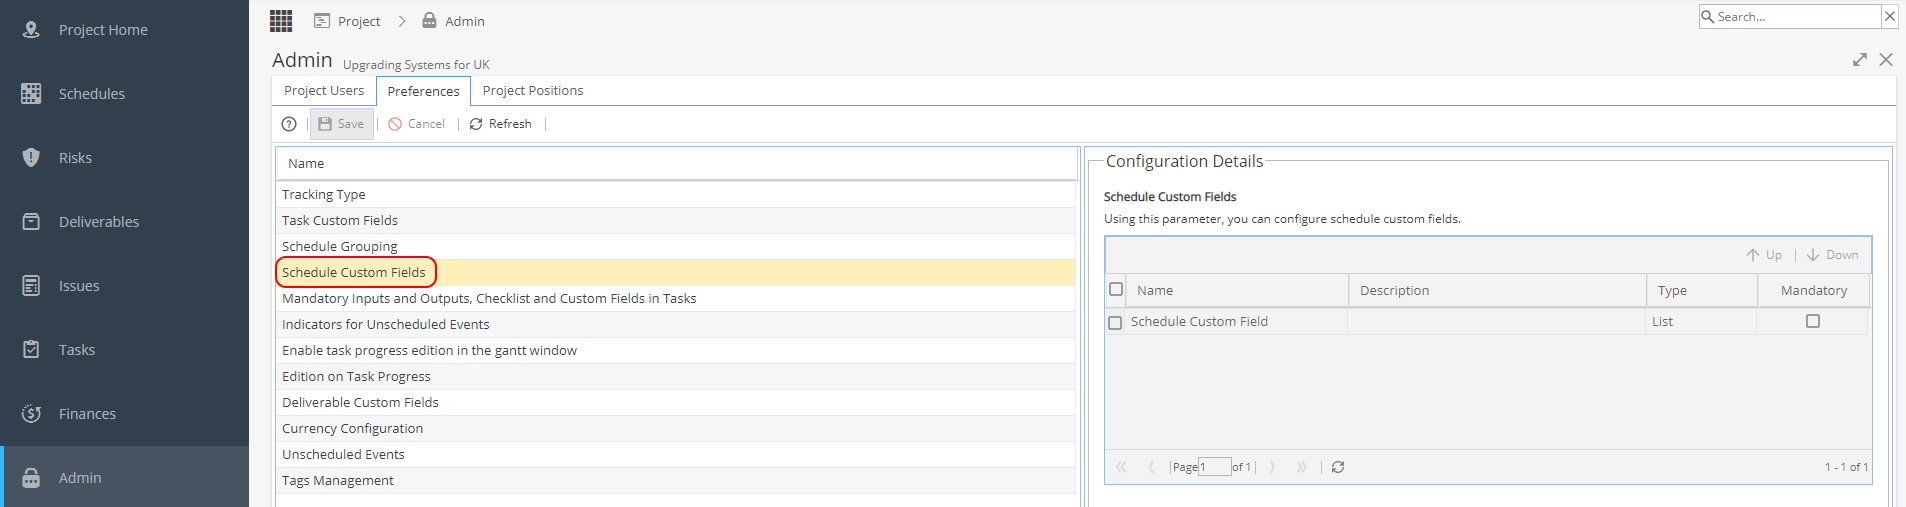
If no items appear in this list, no custom fields have been configured.
The list of Schedule Custom Fields are configured in the Blueprint.
Knowledge > Blueprints > Advanced Setup > Fields (Where Type is set to Schedule)
You can only change the Name, Description and Type from the Blueprint.
The Project > Admin > Preferences menu will only allow you to view the list and tick the box to mark the field as mandatory.
You can also use the Up / Down arrow buttons to change the order of the list. -
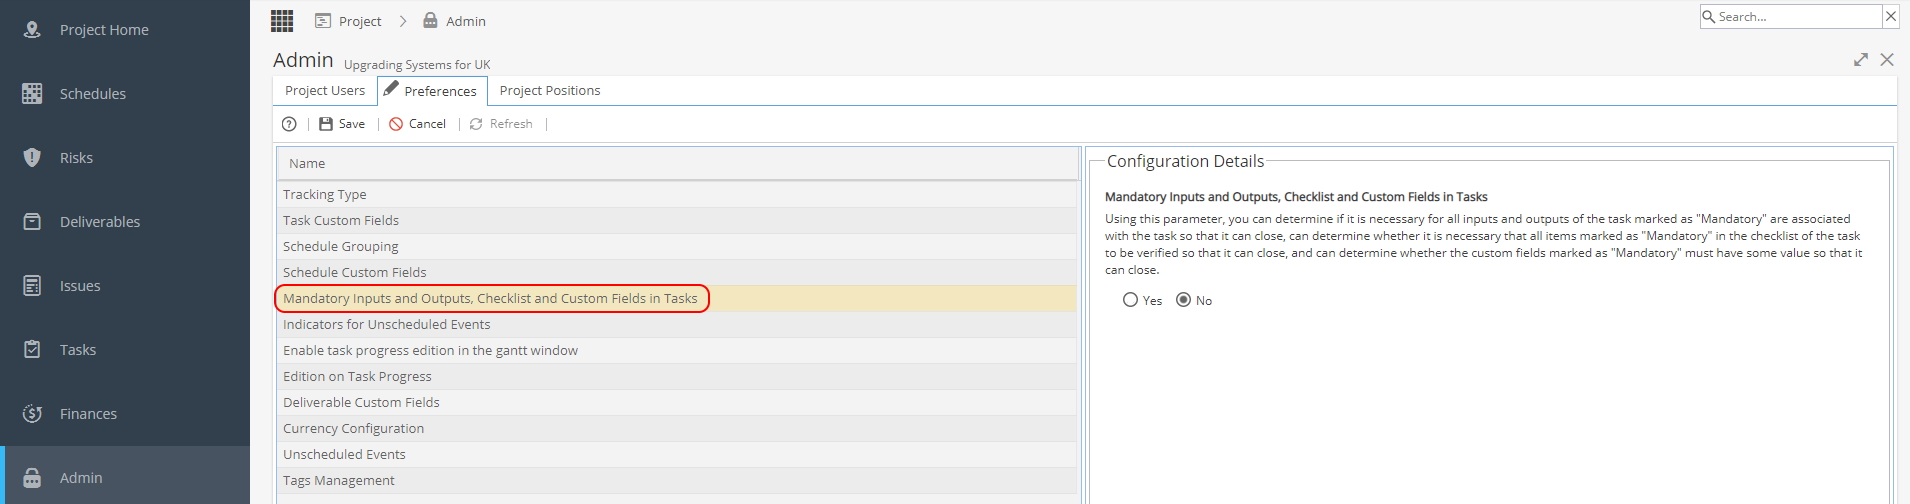
This option allows you to decide if input, outputs, checklists or custom fields marked as mandatory are needed to be able to mark a Task as closed:
To update the default option for a Company Blueprint
Go to Knowledge > Blueprints > Company Blueprints > Overview
Click on the Template Project icon
Go to Admin > Preferences > Enable Task Progress Edition in Gantt
Update settings and Save, this preference will now be applied to any future Projects using this Blueprint. -
The revenue model for Tasks can be updated using the radio buttons:
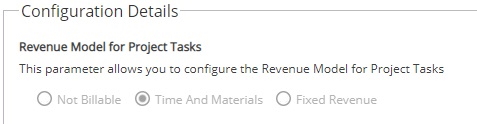
The default revenue model to use for Tasks is set set at Company Level via Admin > Configuration > Company Preferences -
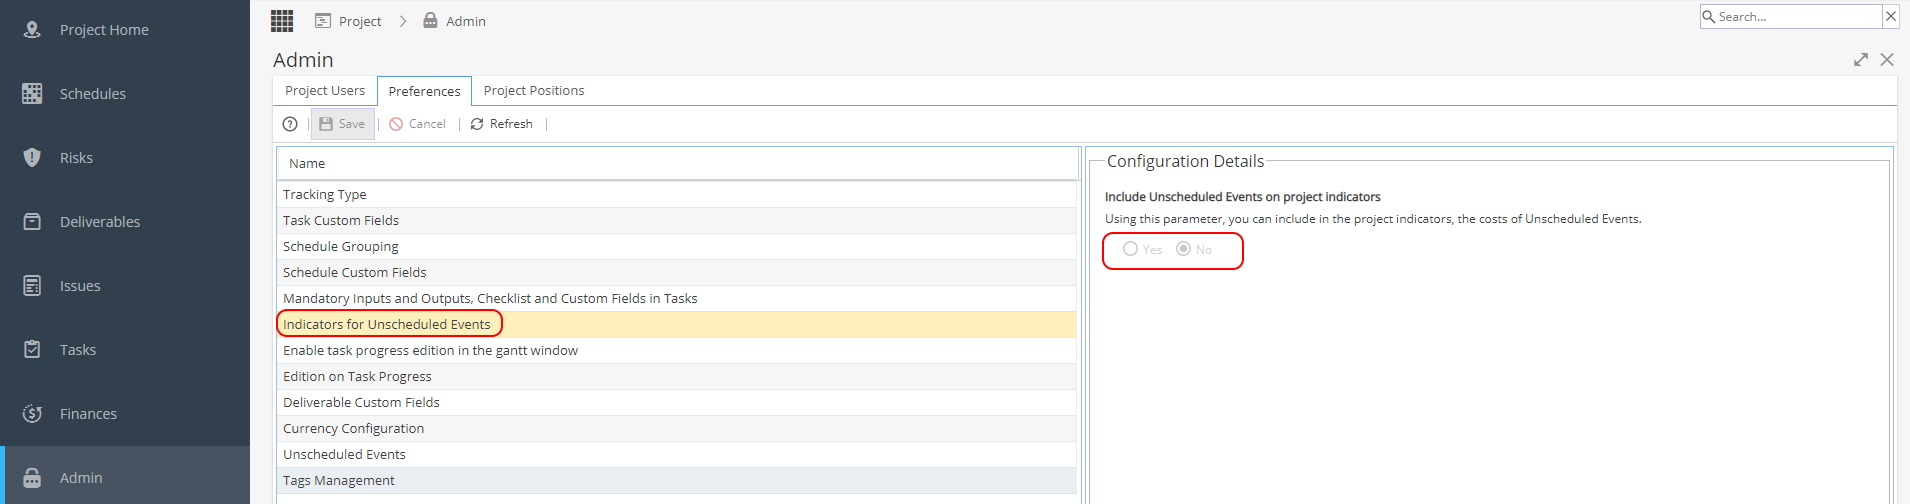
This option allows you to decide if costs for Unscheduled Events should be included e.g. in the PMO > Forecast view.
To update the default option for a Company Blueprint
Go to Knowledge > Blueprints > Company Blueprints > Overview
Click on the Template Project icon
Go to Admin > Preferences > Enable Task Progress Edition in Gantt
Update settings and Save, this preference will now be applied to any future Projects using this Blueprint. -
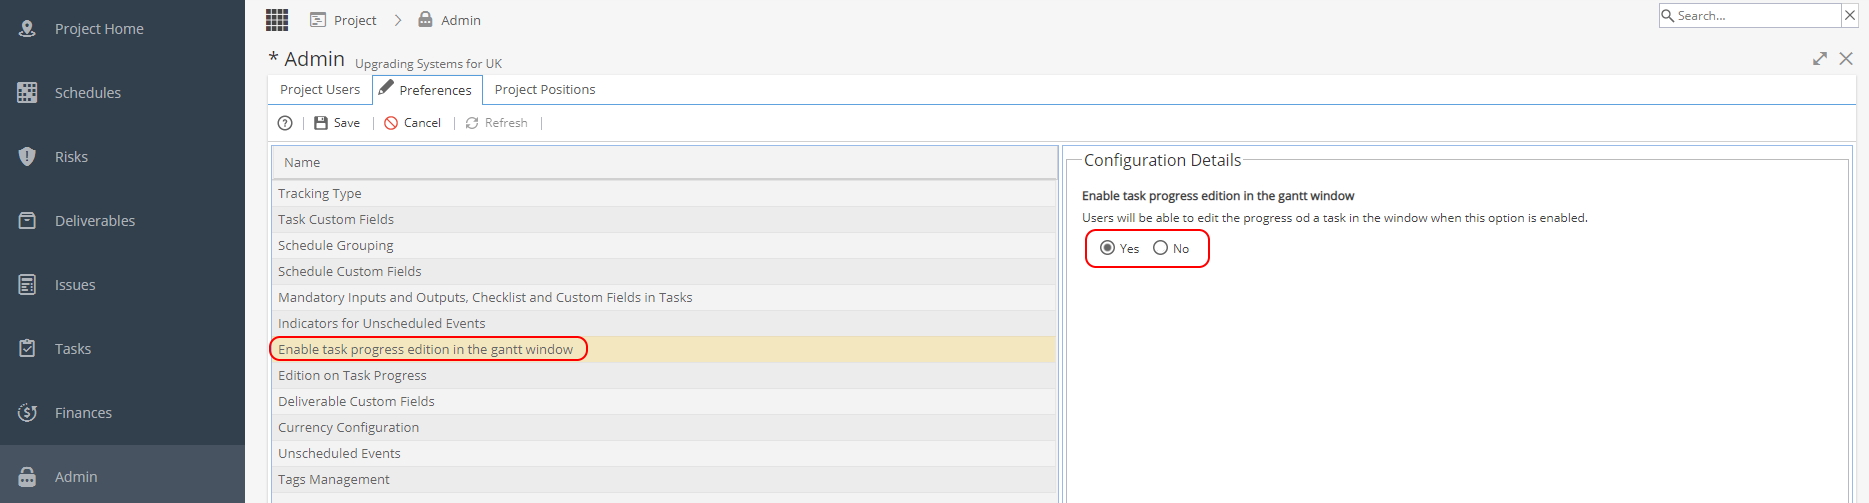
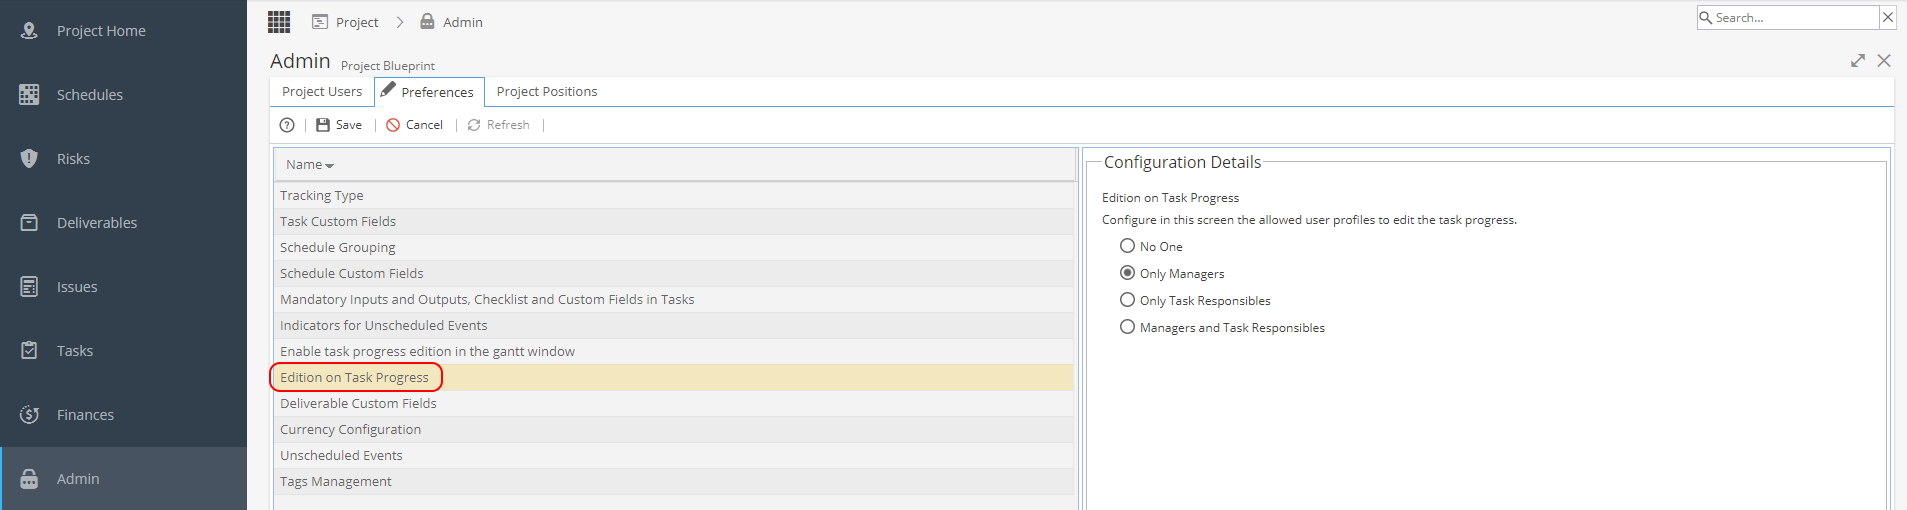
Accessing this menu from Project > Admin > Preferences allows you to change a single Project to be different from the default:
When this option is set to No:
The Progress Column in the Gantt Chart is View Only.
When you double click on the cell, no edits are allowed.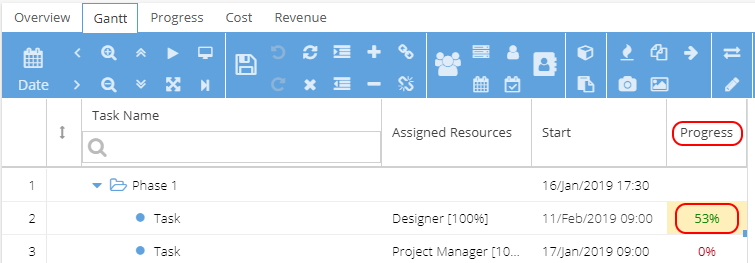
When this option is set to Yes:
You can double click on a cell in the Progress column and type the % or use the up / down arrow to adjust the percentage.
Remember to click Save after making any changes.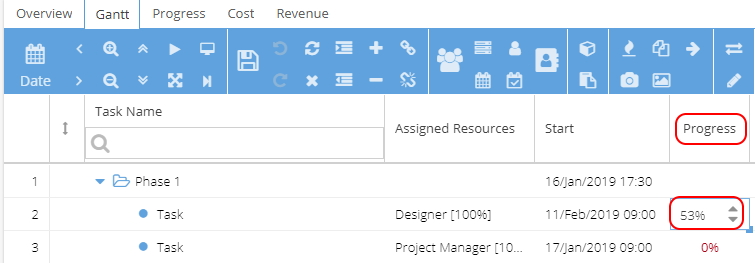
 Remember if the Project is using Time Logs updating the Progress % will also update Time logged against the Task.
Example - Task that takes 7h30m and the Gantt progress is updated to 53%
The Time & Materials section of the Task Details Overview will now show Actual Time logged: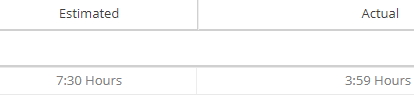
The Project > Project Home > Timesheets will also show time logged:
If updating the progress, make sure any real resources / users are aware, to avoid duplication of work or additional hours being added to a Task.
To update the default option for a Company Blueprint
Go to Knowledge > Blueprints > Company Blueprints > Overview
Click on the Template Project icon
Go to Admin > Preferences > Enable Task Progress Edition in Gantt
Update settings and Save, this preference will now be applied to any future Projects using this Blueprint. -
The company default option for Edition on Task Progress is set via Admin > Configuration > Company Preferences > Edition on Task Progress You would only change this setting from Project > Admin > Preferences if you wanted a single Project to be different from the company default:
-
You can access the same menu one of two ways, depending if you need to update a single project or the company default.
Accessing this menu from Project > Admin > Preferences will only change the options for the current project being viewed.
The default settings for the Deliverable Custom Field options are set in the Blueprint.
To check or update the defaults go to Blueprints > Company Blueprints > Overview and select the Template Project icon from the Actions section.
From there you can go to Actions > Preferences and see the same screen as below.This option allows you to select which custom fields are visible for the current Project:
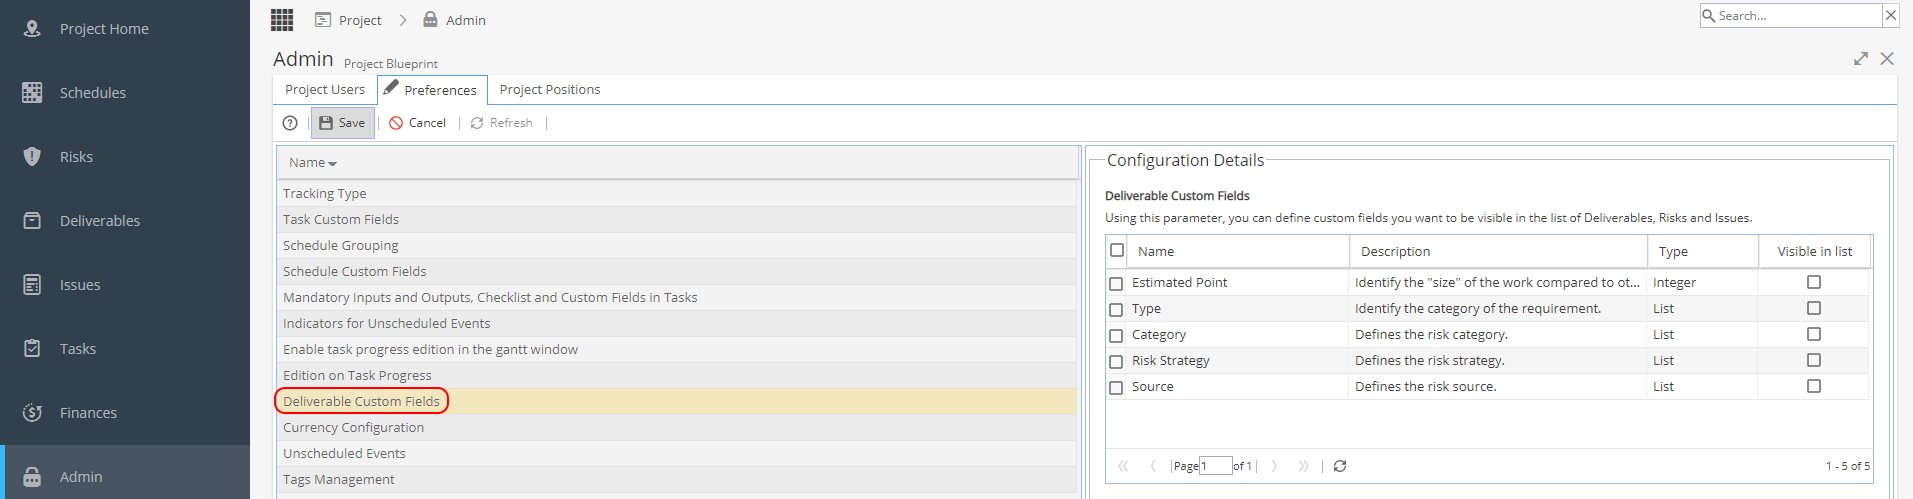
To make any changes to the Deliverable Custom Fields, you need to go to Blueprints > Advanced Setup > Fields
To link a custom field to a type of deliverable e.g. Risk, go to Blueprints > Assets > Deliverables > Fields tab
These Custom Fields are visible in the Form section of:
Project > Deliverables > Deliverable Overview
Project > Risks > Risk Overview
Project > Issues > Issue Overview -
The company default option for Currency Configuration is set via Admin > Configuration > Company Preferences > Currency Configuration
You would only change this setting fromProject > Admin > Preferences if you wanted a single Project to be different from the company default:
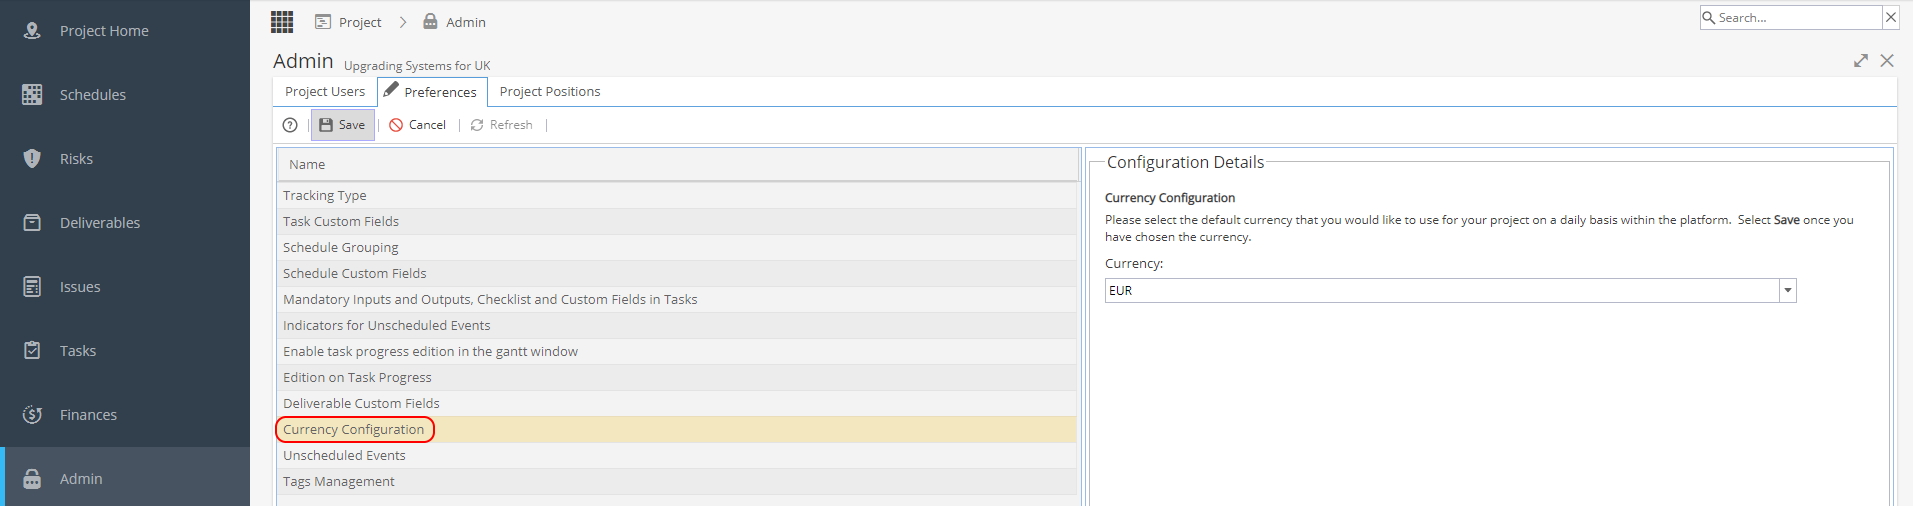
Select a currency available from the drop down menu and click Save to update.
If a currency does not appear in the list, please contact the Support Team. -
You can access the same menu one of two ways, depending if you need to update a single project or the company default.
Accessing this menu from Project > Admin > Preferences will only change the options for the current project being viewed.
The default settings for the Unscheduled Event options are set in the Blueprint.
To check or update the defaults go to Blueprints > Company Blueprints > Overview and select the Template Project icon from the Actions section.
From there you can go to Admin > Preferences and see the same screen as below.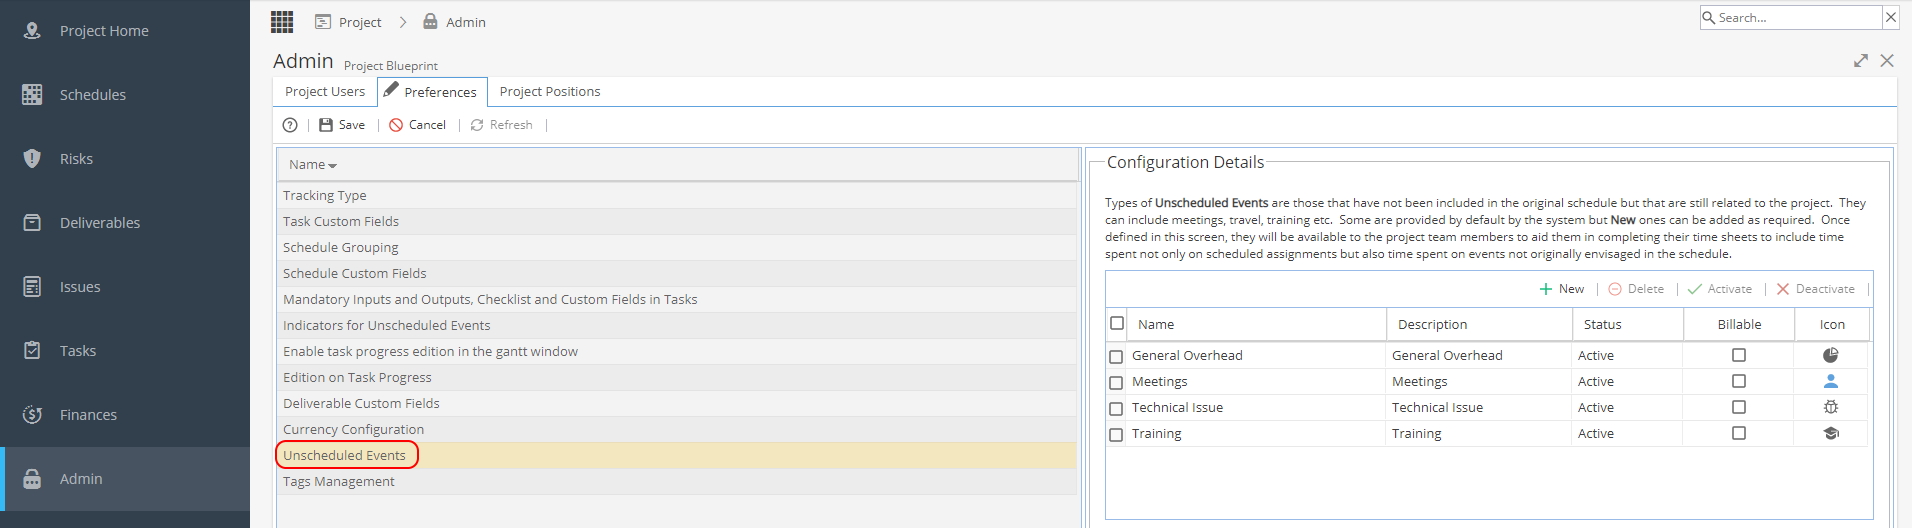
On the top right hand side you have several options:
 + New adds an extra row to the list
Add the Name, Description, check if Billable and select an icon to display
For the icons you can choose from: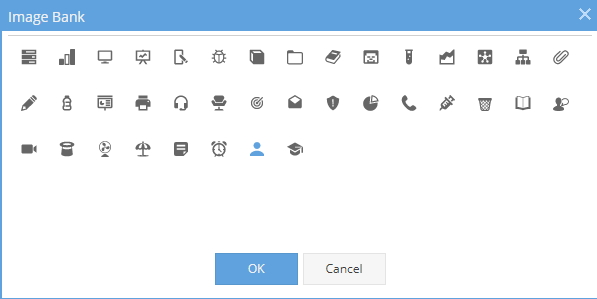
The Delete, Activate, Deactivate options will only be available when at least one Unscheduled Event has been checked from the tick boxes to the left of Name (the selected rows will highlight yellow).
When a user goes to My Space > My Timesheets they will be able to add Unscheduled Events depending on the Event options showing as Active: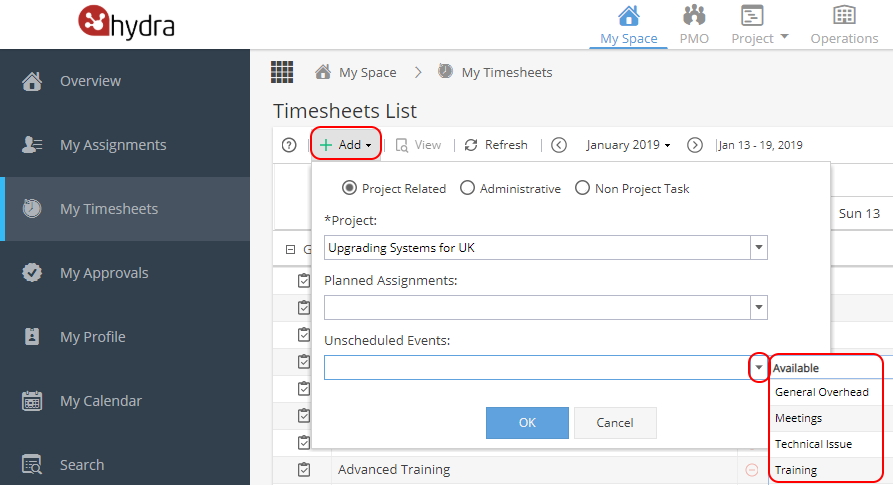
-
This list will show you any Project Tags:
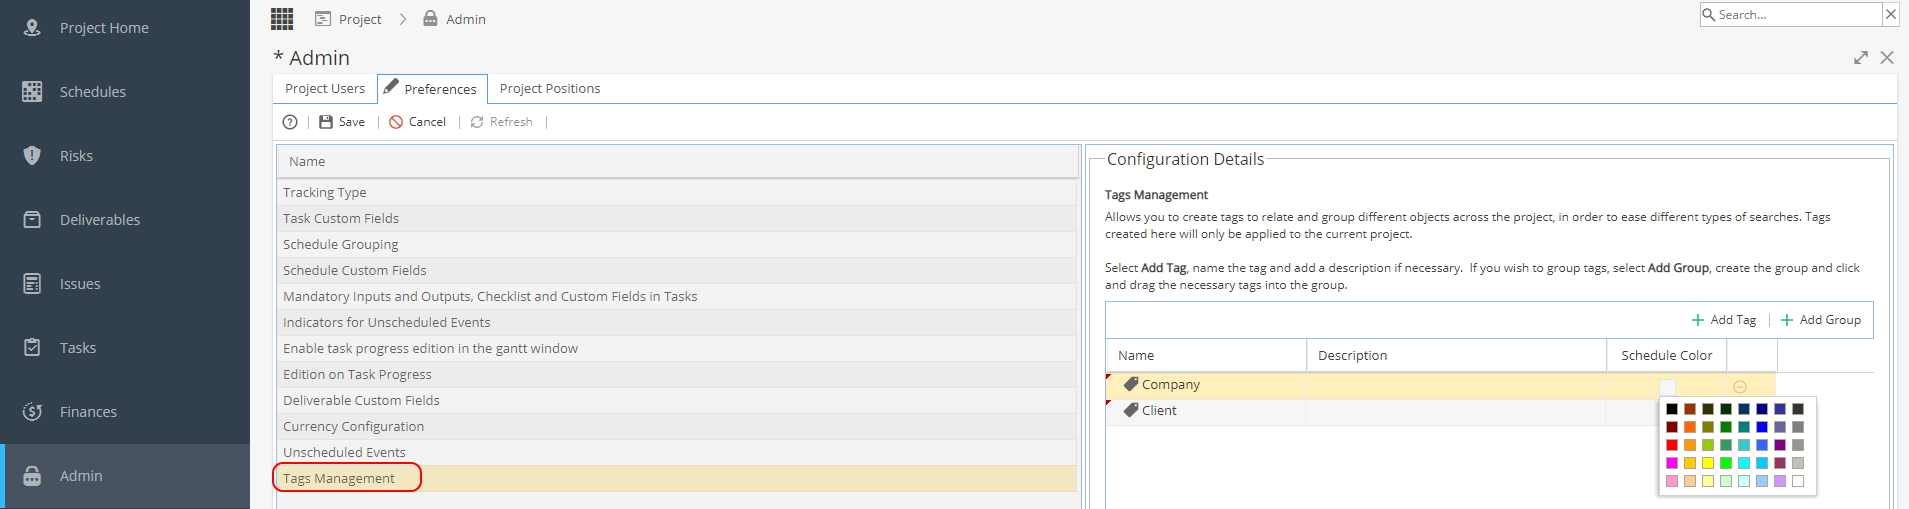
Project Tags will apply to elements within a Project: Schedules, Risks, Deliverables, Issues and Tasks.
Note: Some places in the system use Company Tags
These are set up under Admin > Configuration > Company Preferences > Tags Management
To read more about Tags, click hereTags can be set up in Groups, the Groups do not have to be related (for example you could have Region and Industry).
As Tags are an optional field you can select none, one or a combination.
Use the arrow to the left of a Group (shown with the white tags logo) to expand / minimise the group of Tags.Tags and Groups will not automatically go into alphabetical order, you will need to click and drag to order the lists the way you want them to show.
When you select a row you can:
- Add a description
- Use the green + to add a Tag to the selected Group
- Select a Schedule Colour to the selected Tag
- Use the red icon to delete a Tag / Group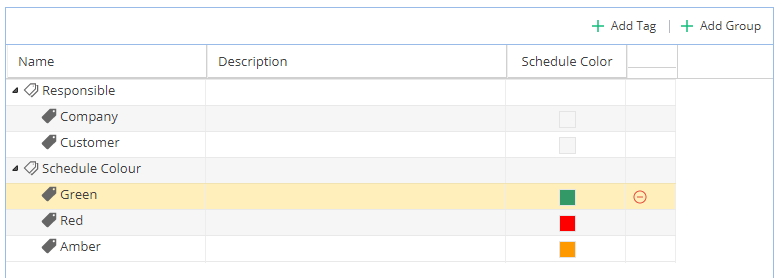
What do the Schedule Colours do?
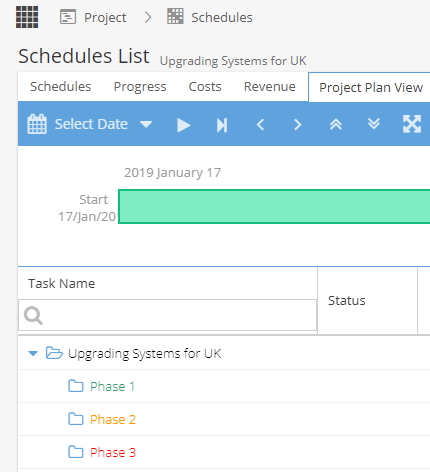
From Project > Schedules Schedules List you can select a Schedule and add a Tag from the Schedule Detail > Overview tabOnce tagged, your list might look like this:
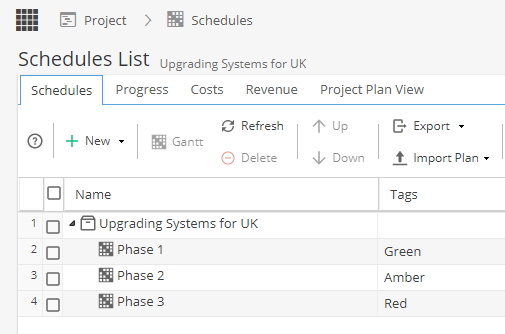
The colours given will be visible from the Project > Schedules > Project Plan View