To use Organizational Units you will need to enable this feature first, click here to read more.
From Admin > Configuration > Organizational Units tab you will see this screen:
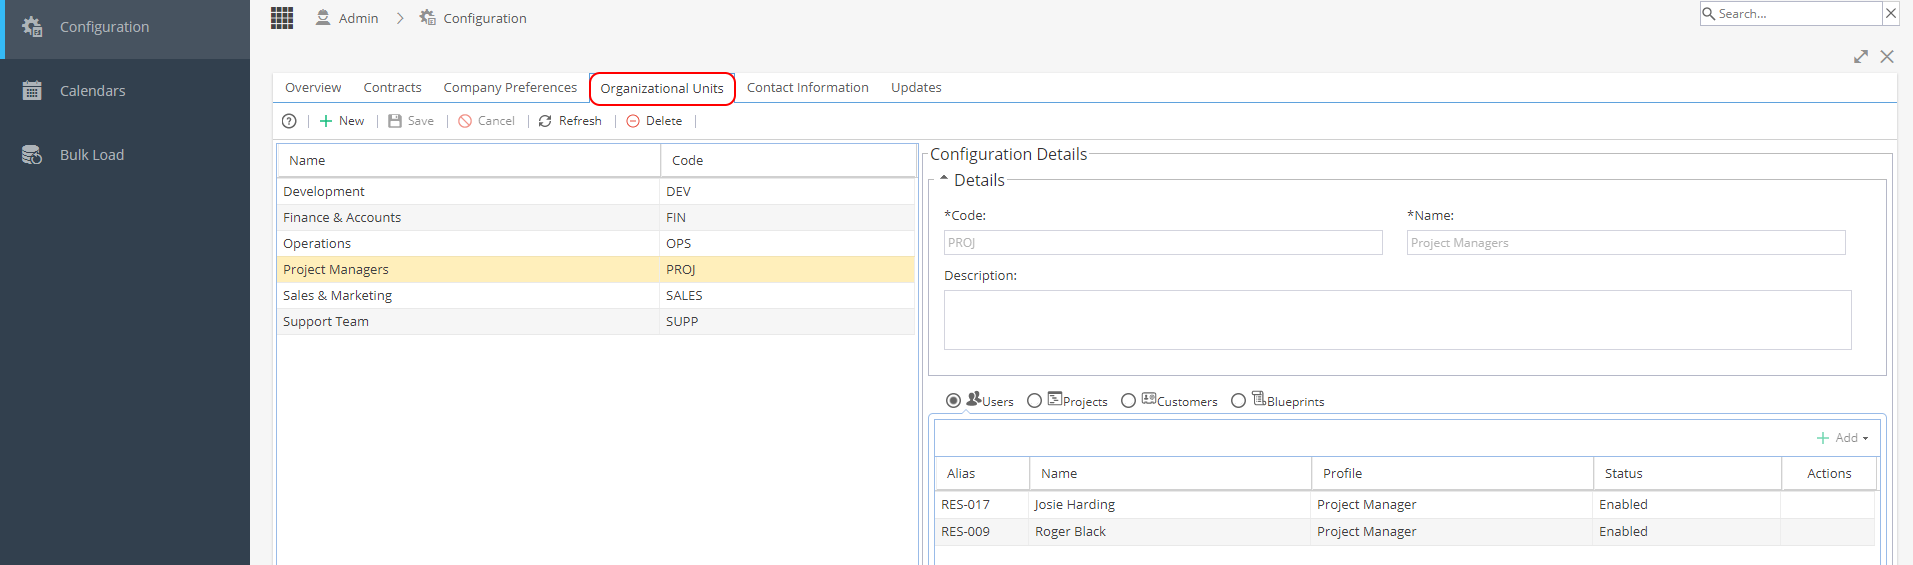
When you use the +New button to create an Org Unit the cursor will go to the Configuration Details panel on the top right of the screen.
Enter a Name and Code (up to 6 characters), the Description is optional.
Click the Save button.
![]() When creating new org units remember to add any system admin users to the list for them to have visibility of all Users / Projects / Customers / Blueprints
When creating new org units remember to add any system admin users to the list for them to have visibility of all Users / Projects / Customers / Blueprints
Cancel - To come out of edit mode and not save any changes made.
Refresh - To check for any changes and see the data in real time.
Delete - When an org unit is selected (the row is highlighted yellow) you can remove the org unit.
Org Units can be used with:
- Users
- Projects
- Customers
- Blueprints
When an org unit is selected (the row is highlighted yellow) you will be able to see if any objects are linked to the org unit by clicking the heading e.g. Customers.
Click the +Add button to select any new objects to be added - remember to click Save to keep the changes.
When creating or editing a User, Project etc, the drop down option will only allow you to add Org Units your own user account has access to, regardless of your profile so you may not see all org units set up.
Org Units are intended to restrict access. so if you need to see everything within your Company, your user needs to be added to all org units.
![]() If no organizational unit is selected for a Resource or Project you may see this field show as "Public". This means there are no restrictions by org unit for visibility.
If no organizational unit is selected for a Resource or Project you may see this field show as "Public". This means there are no restrictions by org unit for visibility.
Reports which can use Org Units to Filter / Group By:
- Project Progress (via Company Dashboard)
- Project Portfolio Summary (via Company Dashboard)
- Alerts (via Company Dashboard)
- General Project Info (via Project Dashboard)
- Timesheets Report
- Resources > Capacity (Filter)
You can also use Org Units as a filter in the PMO > Forecast screen