From the Project > Schedules > Schedules list screen
Right click on a schedule under the Predecessors column.
Select Edit this cell.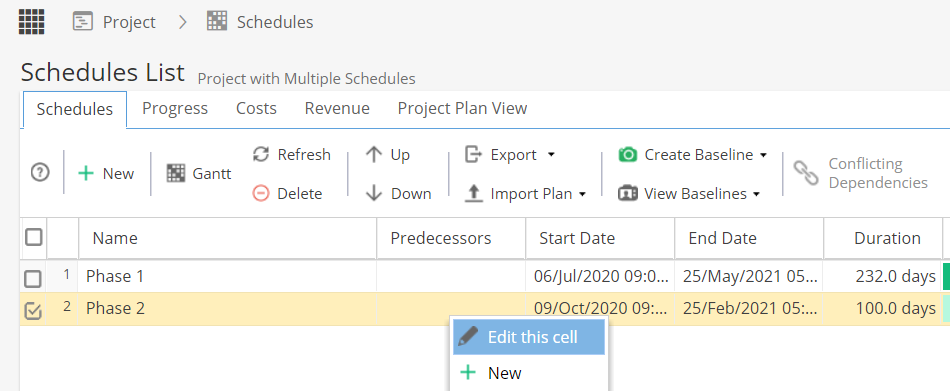
Use the drop down arrow to open a panel and then select a Schedule to add as a predecessor.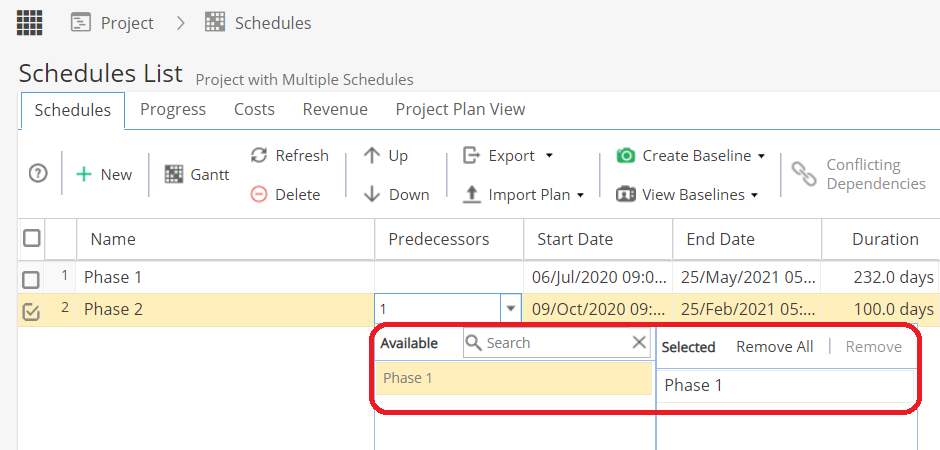
Once you click away from the predecessors cell your view will be updated.
The Predecessors cell will show the Row number of the selected schedule.
You can hover your mouse over the blue chain icon to see the name of the schedule(s).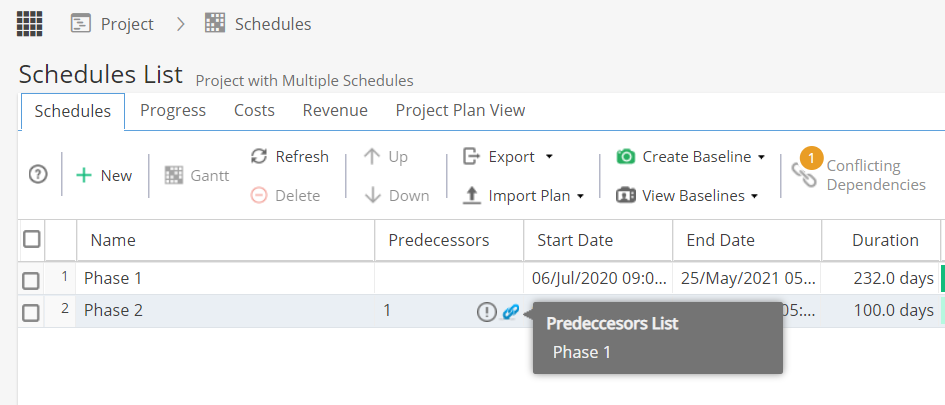
In this example you will see there is also an exclamation mark and a conflicting dependency showing.
Hover over the exclamation mark to see more information: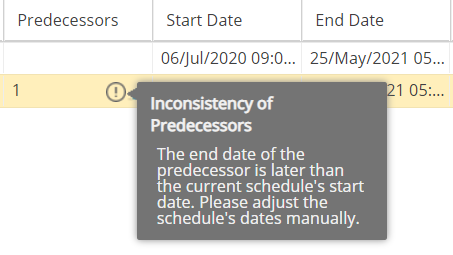
Or click on the conflicting dependencies warning to view the details: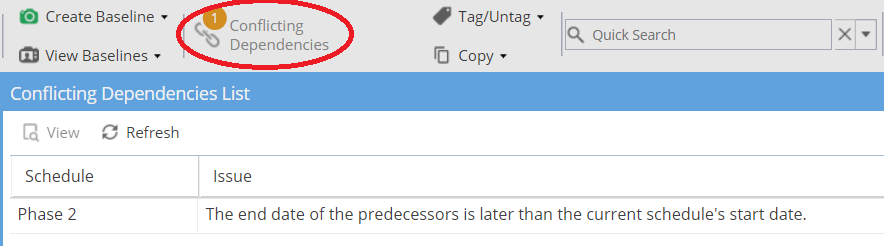
As soon as the issue is resolved (by adjusting the start date of the first task in the Phase 2 schedule) the warnings will disappear.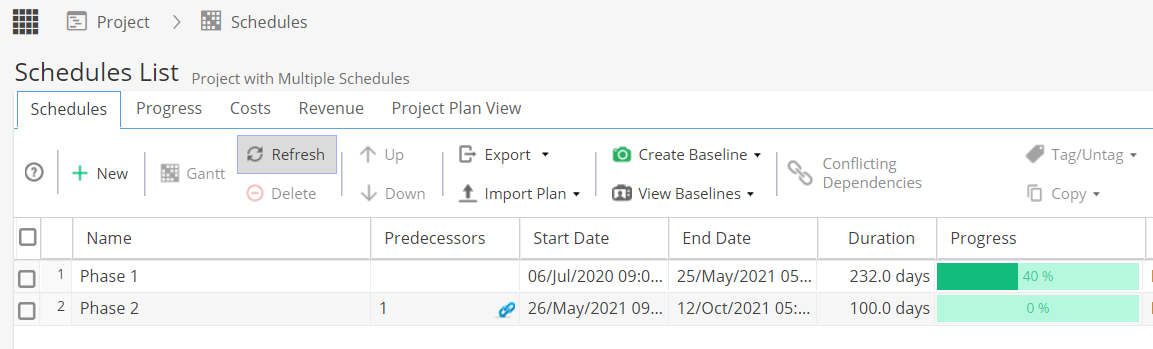
Note: Remember you can also set predecessors across Tasks from the same project, even if they are in different schedules,
by using the Outside Predecessors option from the Task Information screen in the Gantt.
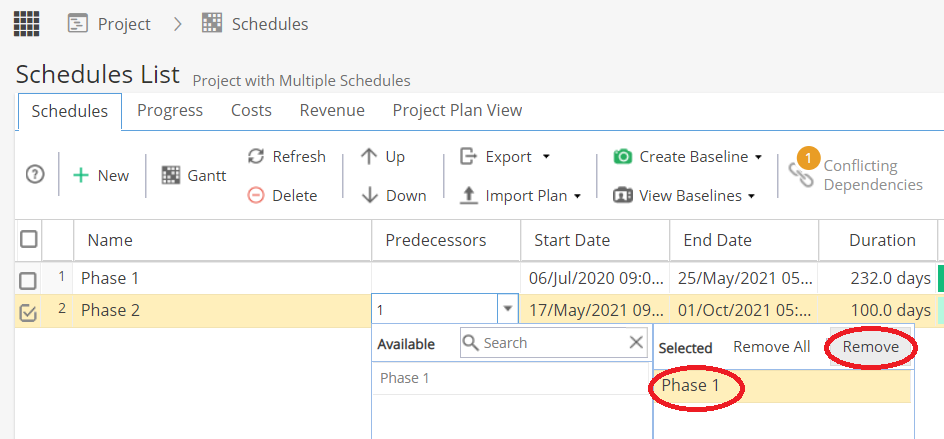
To remove a Schedule Predecessor, from the Project > Schedules > Schedules list screen
Right click on a schedule under the Predecessors column.
Select Edit this cell.
Use the drop down arrow to open the panel.
Select a schedule from the right hand side and click Remove.