Pre-requisites
- To perform the following steps you will require a company profile that allows you access to the PMO section of Hydra.
- This guide assumes you are creating an ad-hoc project, rather than creating a project from a blueprint.
- If you have already been assigned a blank project skip to step 7. (Navigate to the project home using the “my projects” widget in your myspace page)
- Login to Hydra PSA at https://app.hydra.cloud
- Go to the PMO section
- In the Projects menu, under the projects tab (this is the default landing page anyway) Click the “New” button.
- Fill in the mandatory details and select your options.
- Name – The name for this project
- Start & end dates – The start & finish dates (these do not have to be exact – just a rough idea)
- Calendar – The calendar this project will use
- Project Manager – Select from the list who will manage this project (choose yourself)
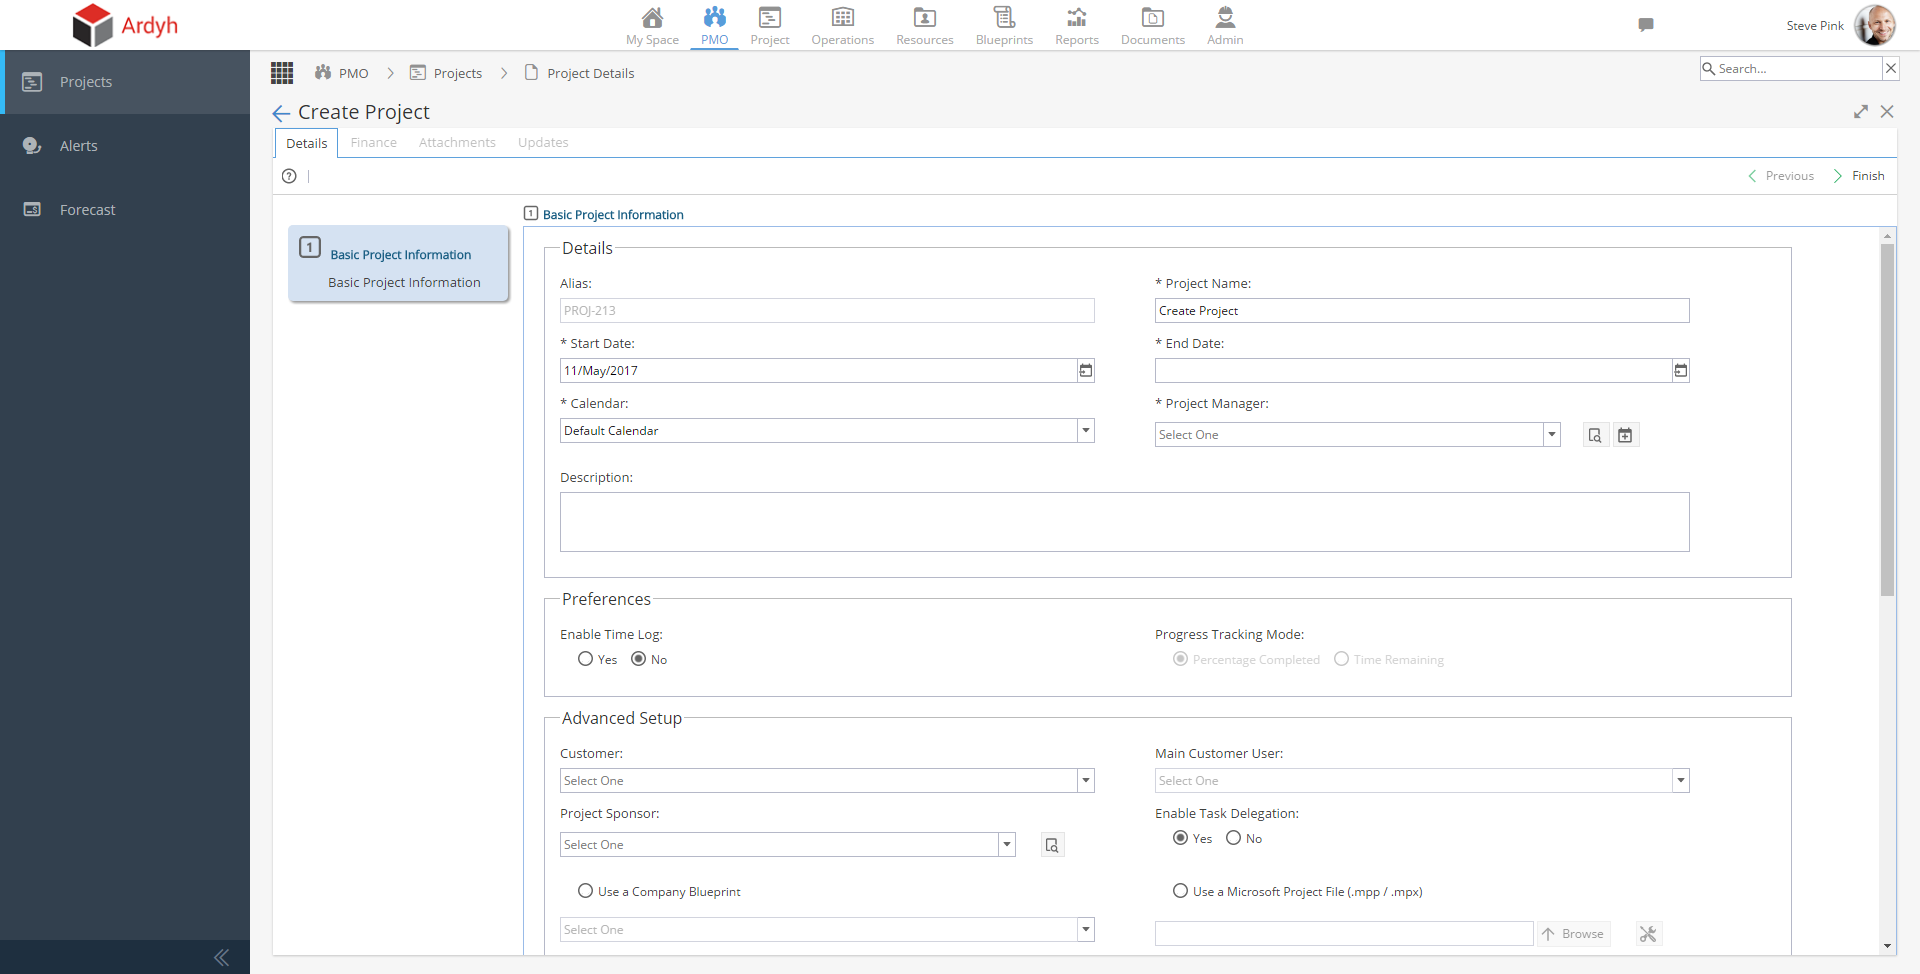
- Then Select the preferences settings:
- Time Log – Should users be allowed to add time against tasks
- Tracking mode – should the progress of a task be measured by the amount of time left to complete it, or the percentage.
- Click “Finish” (top right)
- Once the project has been created it will be in draft mode, click the “Project Home” button (icon in the top right)
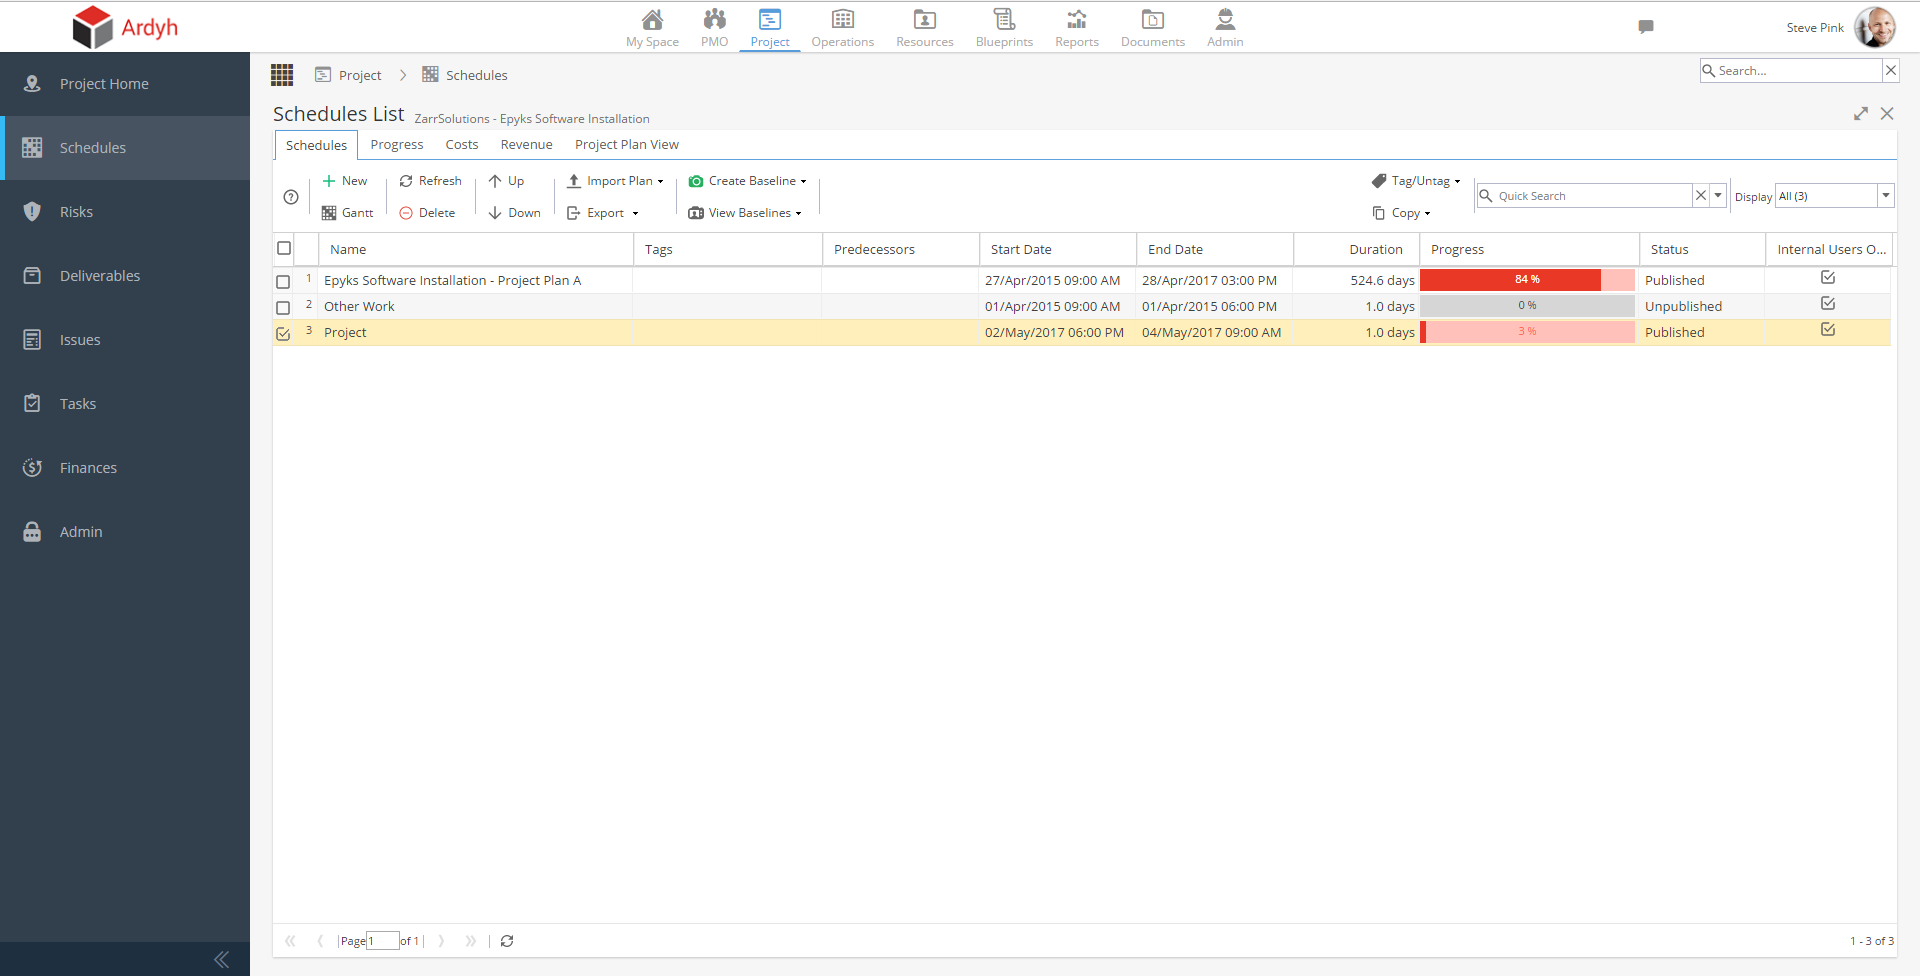
- Go to the Schedules menu (on the left hand side)
- Create a new schedule (by clicking the New button) or edit the name of the existing one (right click, edit this cell). Then double click on a schedule to view the Gantt chart
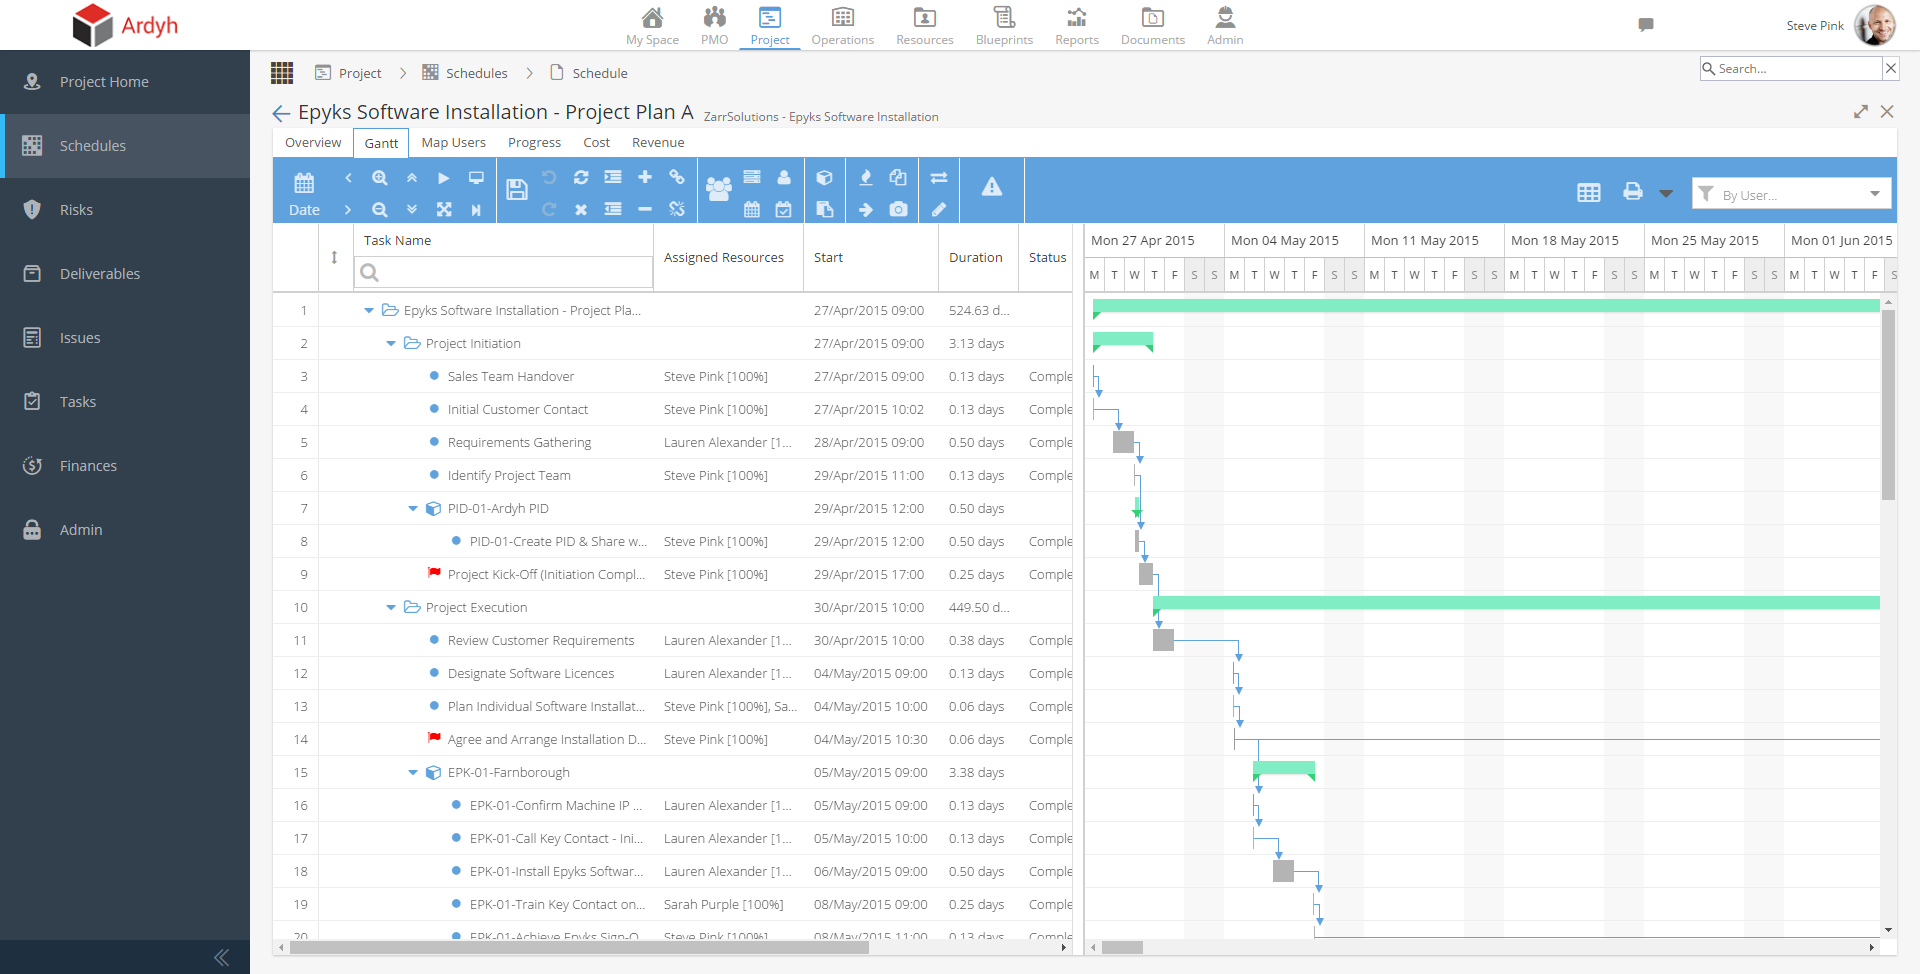
- Click the “Add” button to add a task to the schedule, and use the other buttons in the Gantt viewer to indent, link, create dependencies etc. You can also manipulate the dependencies and duration of tasks directly in the Gantt using the mouse.
- Now add some people to complete the tasks – there are two ways you can do this:
- Create generic users (which are placeholders) using the + button in the planning explorer (to the right of the Gantt chart), then assign them to tasks by dragging them from the available users below and dropping them into the assigned users above
- If you have real resources assigned to the project assign them to tasks by dragging them from the available users to the assigned box in the planning explorer.
- When you are ready to run the project, click the “Project Home” menu, select the overview tab and change the Status of the project to “Live”
- Publish schedule from the ”Schedules” menu, in the “Overview” tab (next to the Gantt tab)