Note: This feature was developed for Hydra Users who required paper copies of daily Timesheets
(to be printed out and signed by their customers to confirm they agree with the number of Billable hours being charged).
We would recommend exploring using Time Log Approvals to minimise the manual effort required.
-

Any Activity Reports previously generated will display in this list.
The list shows: Date, Project Name, Customer Name, Description and Billable Hours.
On the top left:
+ New - Create a New Activity Report
View - When an activity report from the list is selected (the row will highlight yellow) click View to see the Overview tab
Refresh - Check for any changes and see the data in real time
Delete - When an activity report from the list is selected (the row will highlight yellow) click Delete to remove this report.
On the top right:
Export - Export the list in your preferred format (CSV, HTML or Excel)
Quick Search- Filter the list view by Project Name -
When you create a new Activity Report there are 3 sections:
1 Details
2 Activities
3 Additional Information
1 Details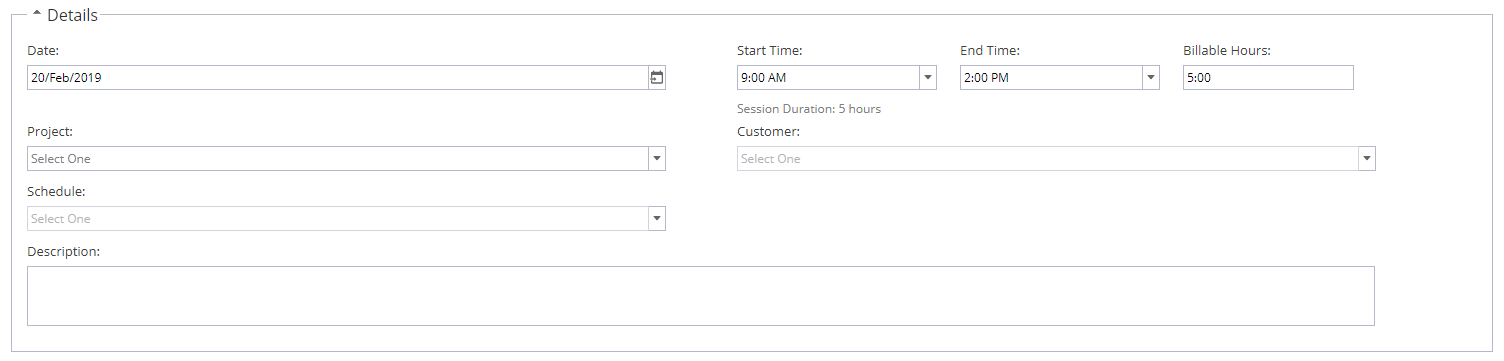
The date can be changed but will default to the current date (only one day can be selected per Activity Report)
The start time will automatically populate around the current time.
When you populate the End Time the system will calculate the total session duration.
Note: If you need to change the time delete the existing time and then the drop down will show all times available (15 minute increments) to choose from.
Under Billable Hours, you can specify how many of these hours are billable to your Customer.
Select a Project from the drop down list
If the Project is not linked to a Customer this field will disappear, if multiple customers are linked to a project you can use the drop down option to select one.
Select a Schedule (It must be Published to appear in the list)
Add a Description (this field is optional but will show in both the Activity Report List and the PDF version)
2 Activities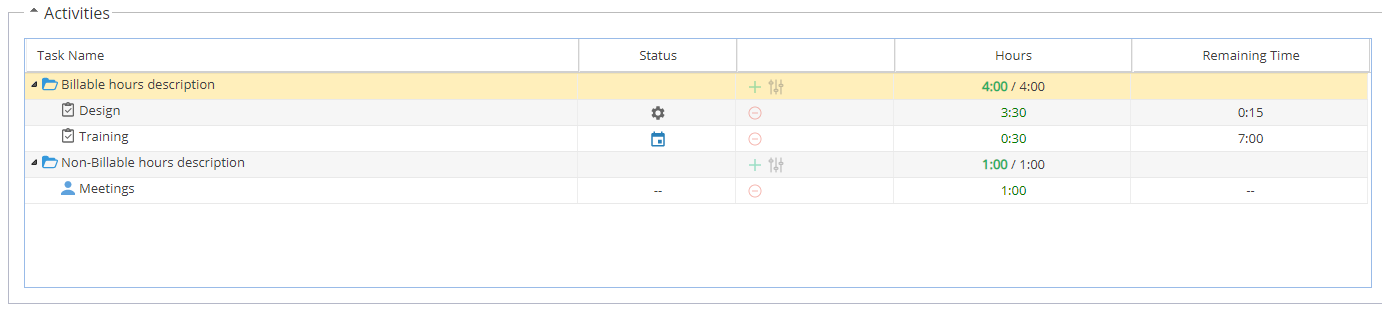
The Activities panel is for recording time.
For Billable Time, time is logged against Tasks you are assigned to.
The time added to the task(s) must not exceed the total billable hours entered in the Details section.
Time logged here will be added to the task and update the progress % for completion.
For Non-Billable Time, time is logged against Unscheduled Events
*Based on choices under Project > Admin > Preferences > Unscheduled Events - Remember they will only show as an option in this section if Billable is not ticked.
The total time accounted for must match the difference between Session Duration and Billable Hours entered from the Details section.
For any Non-Billable entries showing in the list with no time logged, click the red icon to remove them.
If the total hours are over or under the expected amount the value will go from green to red:
You will not be able to save the Activity Report until the hours match.
Correct this by adjusting the times (Either for the Task, Unscheduled Event, Session duration or total Billable hours) until the time summary goes green again.
3 Additional Information
This is a free text field which will show on Page 2 of the PDF view.
For consistency a standard template can be created under Admin > Configuration > Company Preferences > Activity Reports Template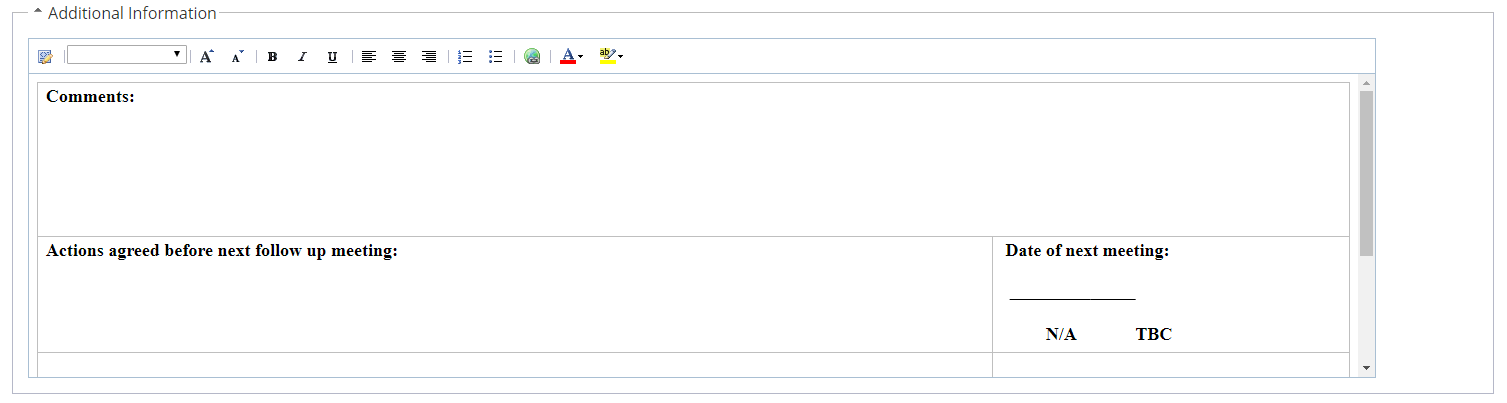
Once all details have been entered you will see 3 buttons at the bottom of the screen:
OK - Save the Activity Report to your List
Generate PDF - Generates the PDF Timesheet so it can be emailed or printed.
Cancel - Will show a pop up box ask you to confirm you wish to exit without completing the Activity Report -
The overview screen will show you the same 3 panels from when the Activity Report was created: Details, Activities, Additional Information.
You can double click into fields to make edits.
Use the Save, Cancel, Refresh options on the top left.
To generate a PDF you need to click on Export on the top right.
-
Page 1

Page 2 (Shows any text from Additional Information)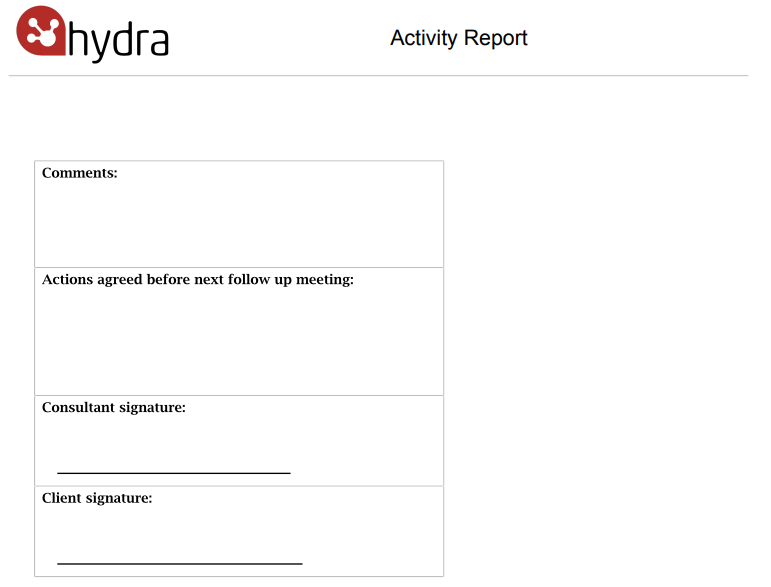
-
Like other objects in Hydra, Updates can be added to Activity Reports.

From the top right of the screen you can:
+ Follow- Follow this Resource to keep track of any updates
Expand All
Collapse All
Display - Filter which type of updates you would like to see
Including Change Logs in your Display Filter will give you some of the audit history for changes to the User's record, you can click Show Details for more information.
For the Updates, you can add:
Comment
File
Link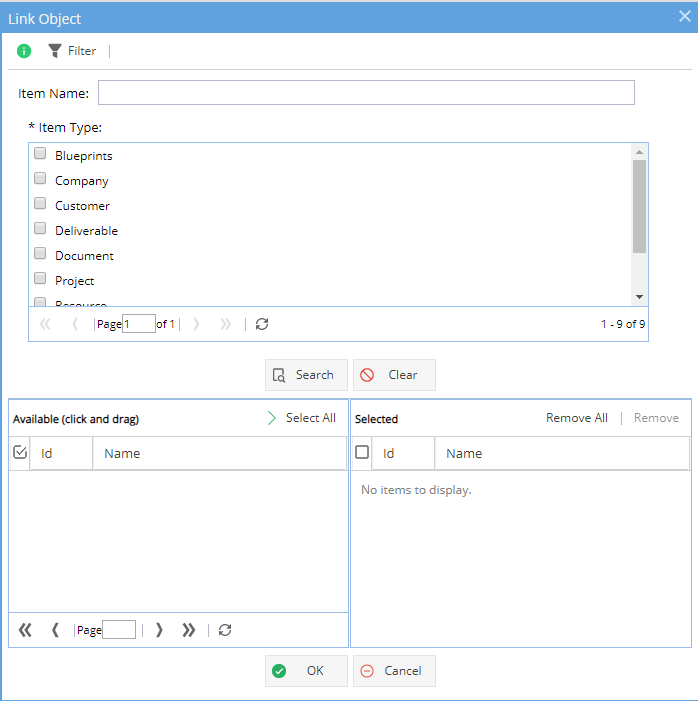
A Link is not a URL, Activity Reports can be linked to any object in the system which also has the attachments tab.
When you click on the Link option a pop-up window will show giving you the options available (as shown above).
The top half of the window is to search. You can just select an Item Type and click Search or you can also add a partial name (you will still need to select the Item Type).
Once an item e.g. Customer is selected click OK - You will need to add a comment before you can click OK to save.
When you look at the Object you have linked to - The link will show in the Attachments tab: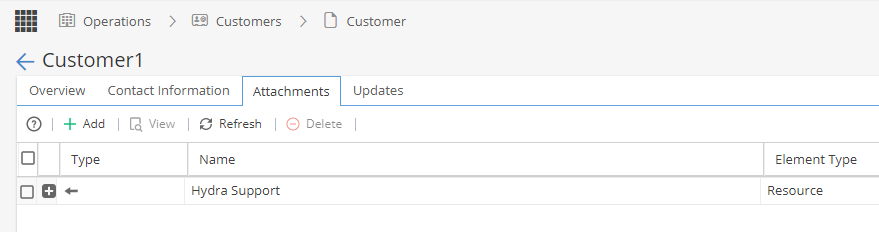
Notify Specific Users of Updates
Whenever adding an update you will see an icon on the top right which allows you to specify who needs to know about this update.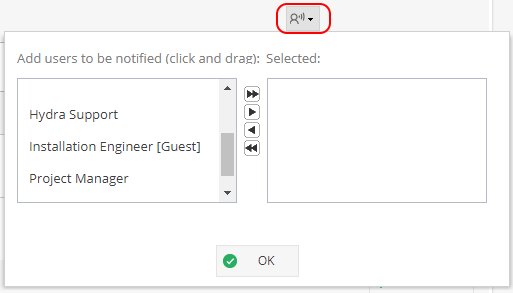
If people are not selected they will be able to see the update when looking at this tab but they will not get the notification on their updates wall to let them know something has changed unless they are already "following" this object: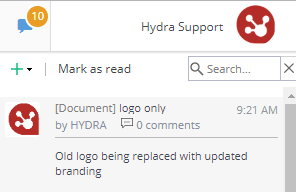
Limit update to internal users only
If you do not want external users e.g Customers to see an update, remember to select the "For internal users only" option on the bottom right of the screen.
Time logged from the Activity Report will show in the Project > Home > Timesheets and Project > Home > Activity Report tab.
Company Preferences also has the option to ""