Note: This feature was developed for Hydra Users who required paper copies of daily Timesheets
(to be printed out and signed by their customers to confirm they agree with the number of Billable hours being charged).
We would recommend exploring using Time Log Approvals to minimise the manual effort required.
-

Any Activity Reports previously generated will display in this list.
The list shows: Date , Resource Name, Description and Billable Hours.
On the top left:
View - When an activity report from the list is selected (the row will highlight yellow) click View to see the Overview
Refresh - Check for any changes and see the data in real time
On the top right:
Export - Export the list in your preferred format (CSV, HTML or Excel)
Quick Search- Filter the list view by Project Name -
Any changes to the Activity Reports shown in this list can only be made by the named Resource from My Space >My Timesheets > Activity Report
-
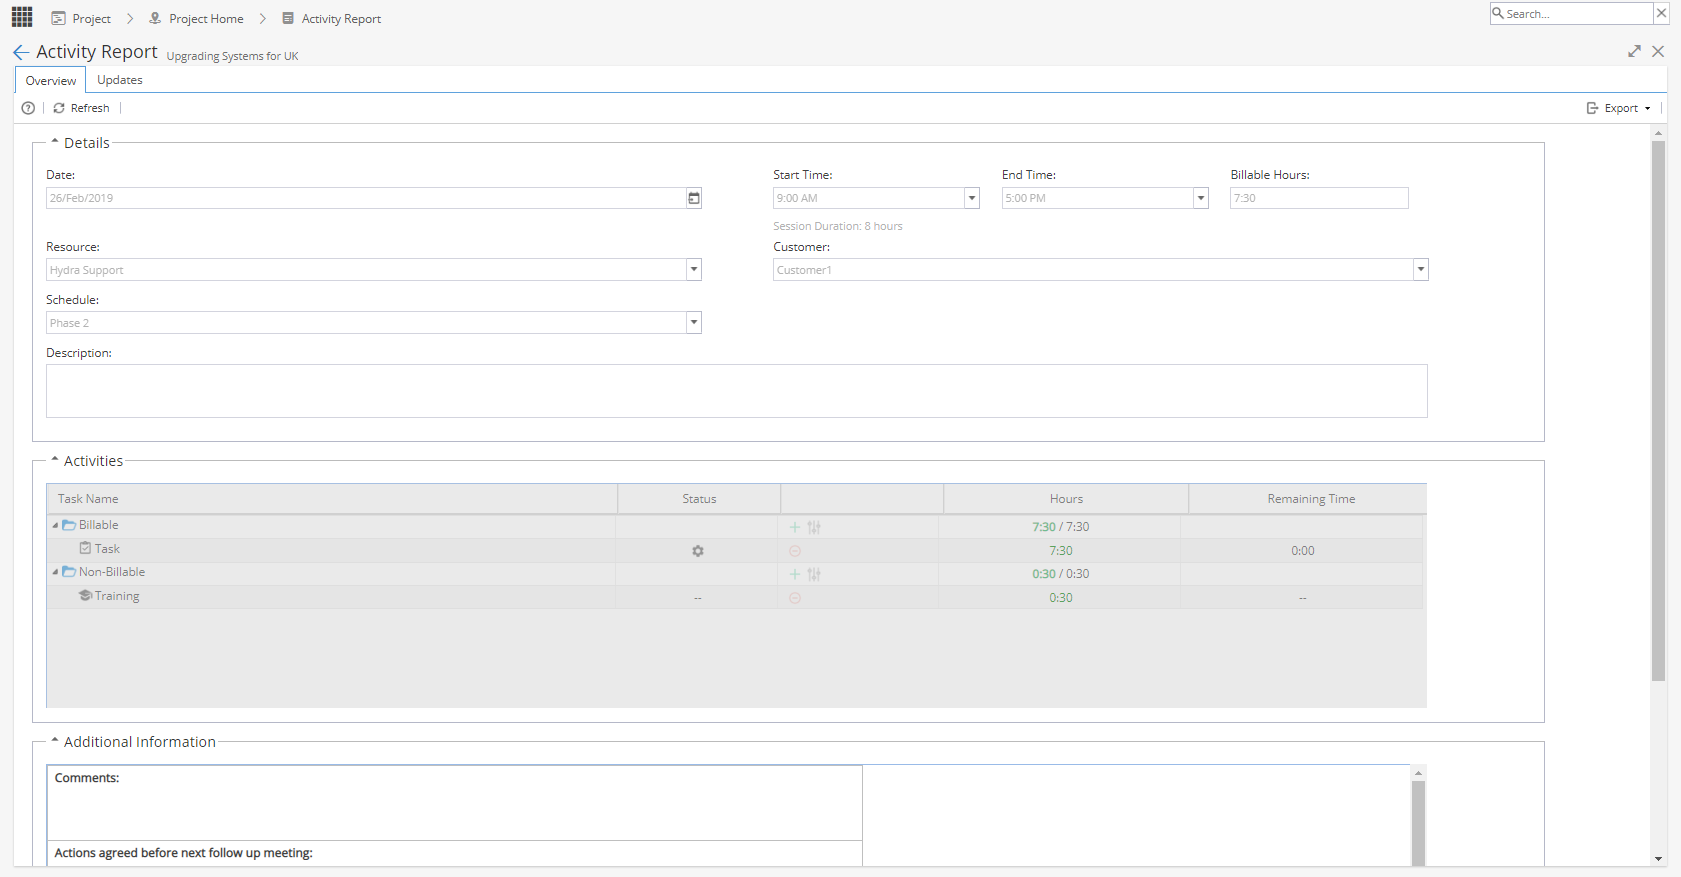
All details on this screen are view only.
Changes can only be made by the original resource via My Space >My Timesheets > Activity ReportYou can use the Export option on the top right to generate a PDF copy of the Activity Report.
-
Page 1

Page 2 (Shows any text from Additional Information)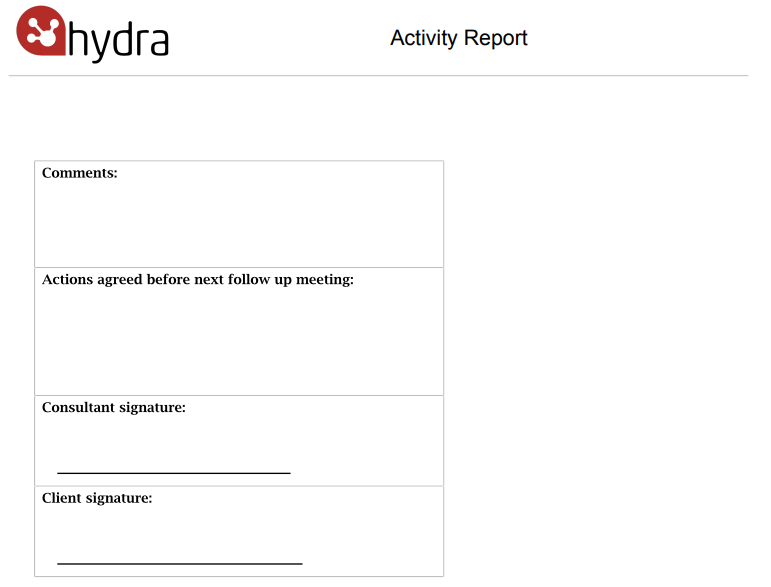
-
Like other objects in Hydra, Updates can be added to Activity Reports.

From the top right of the screen you can:
+ Follow- Follow this Resource to keep track of any updates
Expand All
Collapse All
Display - Filter which type of updates you would like to see
Including Change Logs in your Display Filter will give you some of the audit history for changes to the User's record, you can click Show Details for more information.
For the Updates, you can add:
Comment
File
Link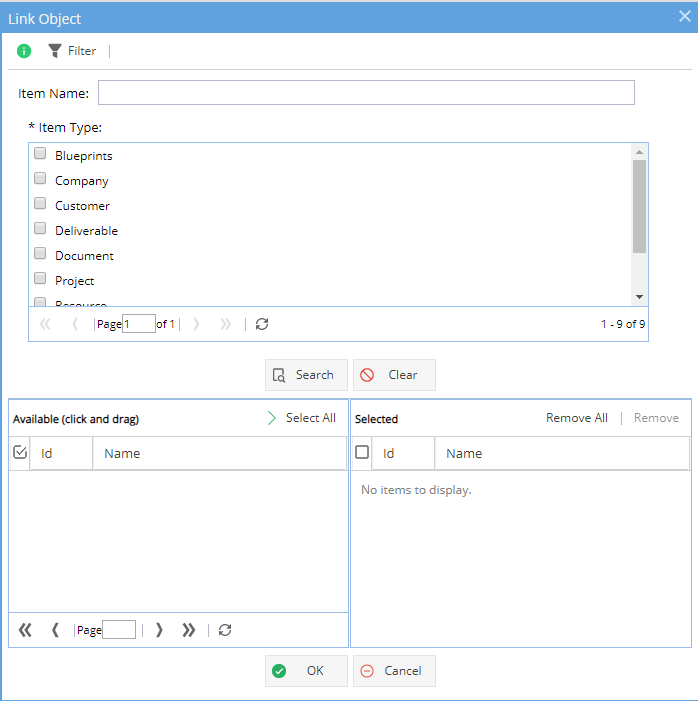
A Link is not a URL, Activity Reports can be linked to any object in the system which also has the attachments tab.
When you click on the Link option a pop-up window will show giving you the options available (as shown above).
The top half of the window is to search. You can just select an Item Type and click Search or you can also add a partial name (you will still need to select the Item Type).
Once an item e.g. Customer is selected click OK - You will need to add a comment before you can click OK to save.
When you look at the Object you have linked to - The link will show in the Attachments tab: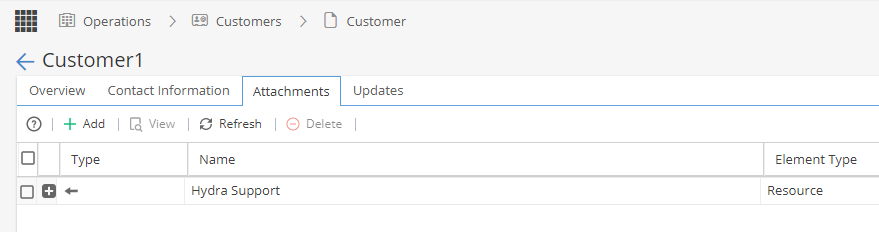
Notify Specific Users of Updates
Whenever adding an update you will see an icon on the top right which allows you to specify who needs to know about this update.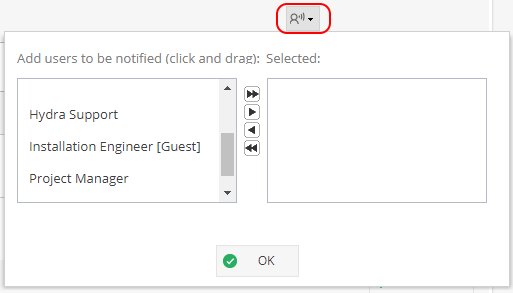
If people are not selected they will be able to see the update when looking at this tab but they will not get the notification on their updates wall to let them know something has changed unless they are already "following" this object: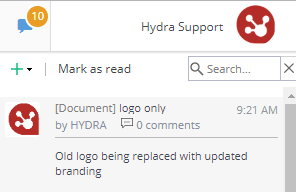
Limit update to internal users only
If you do not want external users e.g Customers to see an update, remember to select the "For internal users only" option on the bottom right of the screen.