On the Project > Finances > Budget tab.
Set the Revenue Tracking to Fixed Revenue and click Save.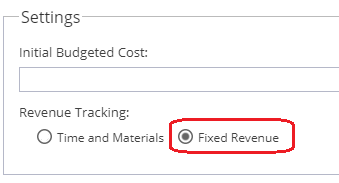
The Revenue fields will disappear from the Budget Breakdown section.
You will see an additional section for Fixed Revenue at the bottom of the screen: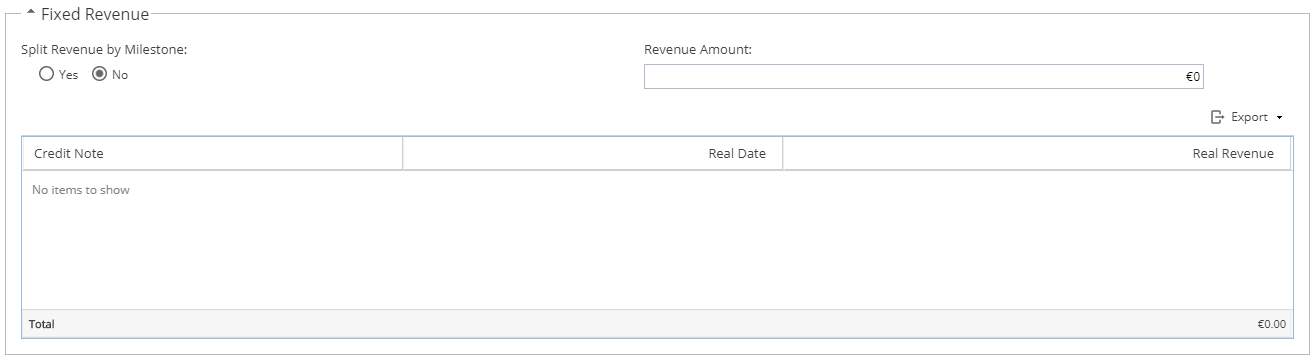
Note: If Split by Milestone is set to No, you can manually enter a Fixed Revenue Amount.
If Credit Notes have been added to your Resources Sheet, then entered against the Expenses and Materials tab with the Revenue box ticked, they will be shown.
Change the radio button for 'Split Revenue by Milestone' to Yes.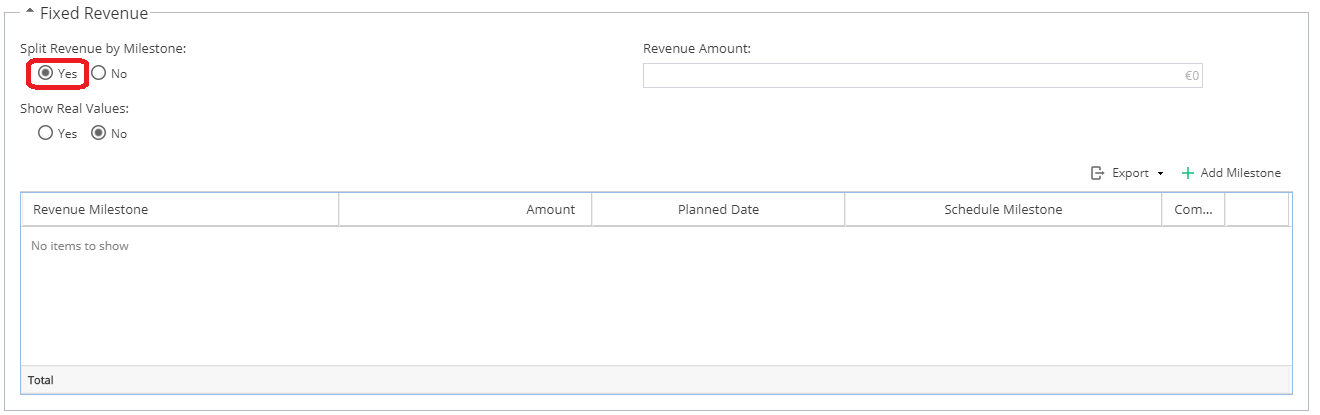
Note: The Revenue Amount box on the top right can no longer be changed.
This will now automatically add up the revenue amounts of the Milestones entered.
Click on the + Add Milestone button.
Click multiple times to create multiple rows.
Type to update the Name and Revenue Amount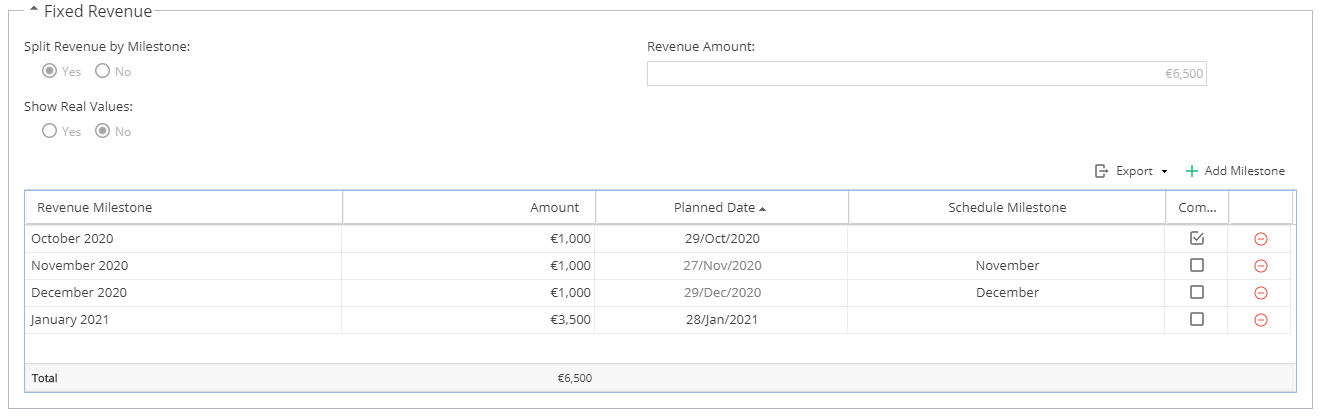
If Show Real Values is set to Yes, you will see two additional columns.
The Real Revenue Amount can be entered manually.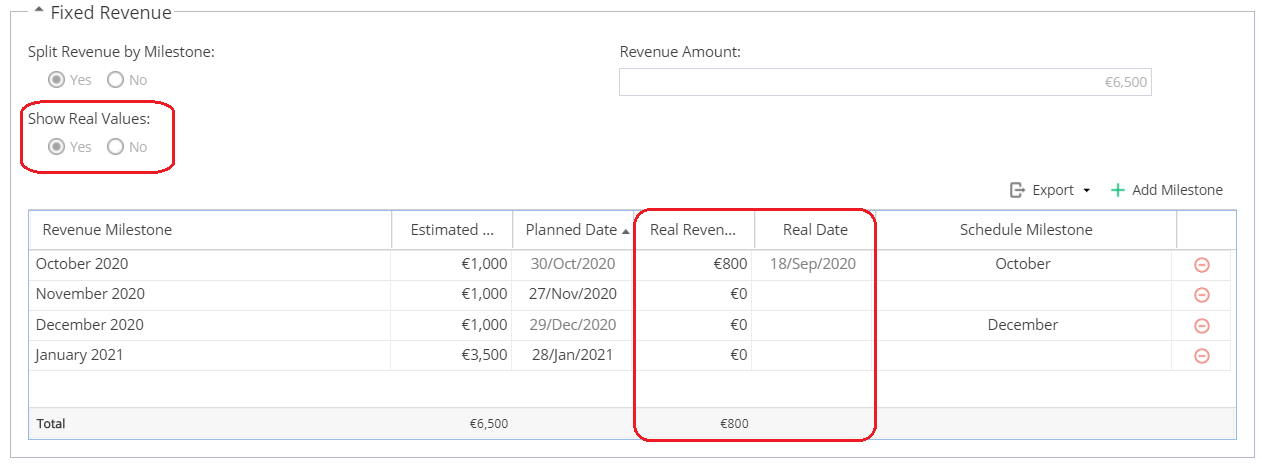
 If you are using Milestones from the schedule (shown with the green diamond icon) , use the drop down list to select them.
This will automatically populate the planned date, real date (*if Show Real Values are set to Yes) and completed information from your Schedule.
If you are not using Milestones from the Schedule, you can manually enter the planned dates and use the tick box to check when completed.
| Budget | Show Real Values - No | Show Real Values - Yes | |
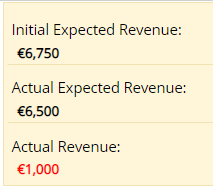 |
Initial Expected Revenue | Manually entered into the field in the Settings section at the top of the page. | |
| Actual Expected Revenue | The Revenue Amount total for any Revenue Milestones. | The Estimated Revenue Amount total for any Revenue Milestones. | |
| Actual Revenue | The Revenue Amount total for any Revenue Milestones showing as Completed. | The Real Revenue total for any Revenue Milestones showing as Completed. | |